
 Useful tips
Watch the video, If you're too lazy to read
Watch the video, If you're too lazy to read
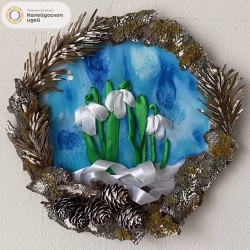
When a holiday is approaching, many people always face the question “What to give?” And this is especially true for the beautiful spring holiday on March 8, because it is on this day that you want to please your beautiful, beloved mothers, grandmothers, wives, daughters, sisters, and just familiar women. Well, if the gift is also created by hand, it will be generally wonderful!
Let's try to make such an original spring souvenir with embroidered snowdrops together.
To make a gift, we will need:
hoop;
white fabric for batik;
blue and blue acrylic paints on fabric;
white gouache;
white and green ribbons 1 meter long;
embroidery needle;
cardboard;
scissors;
brush;
hot melt adhesive;
food salt;
pieces of bark, fir needles and twigs with cones.
So let's get started.
We will prepare hoop and white fabric for batik. This can be any natural fabric of a uniform composition, for example, silk or satin.
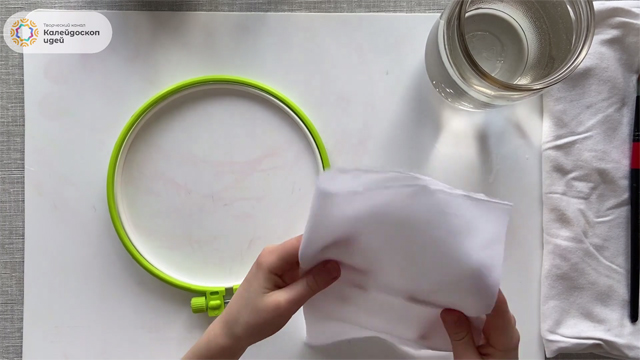
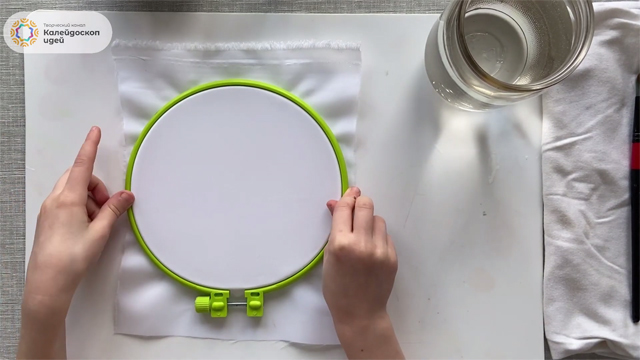
Stretch the fabric over the hoop.
We take blue and blue acrylic paints intended for painting on fabric.
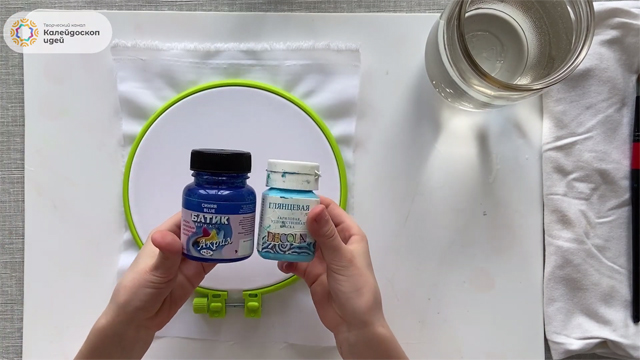
Apply blue paint to a brush soaked in water.
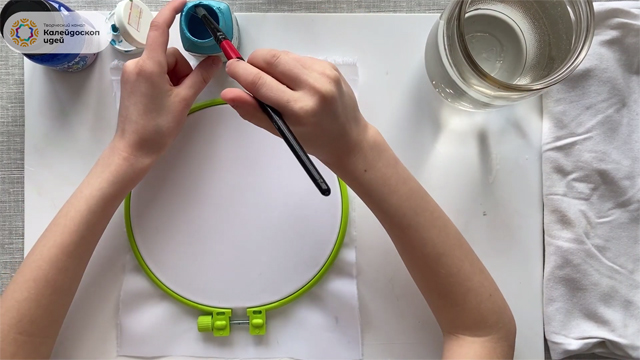
We paint our fabric blue.
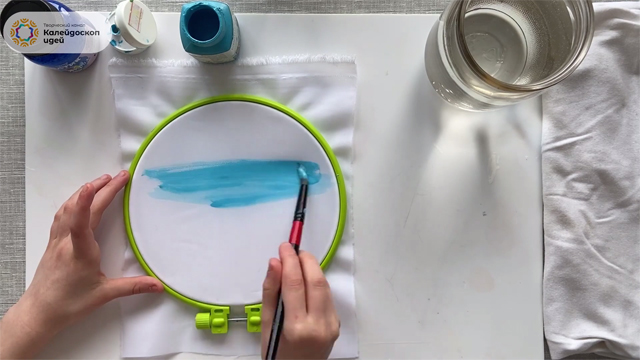
When our entire workpiece is almost completely painted, except for a small piece at the bottom, apply blue paint to the brush.
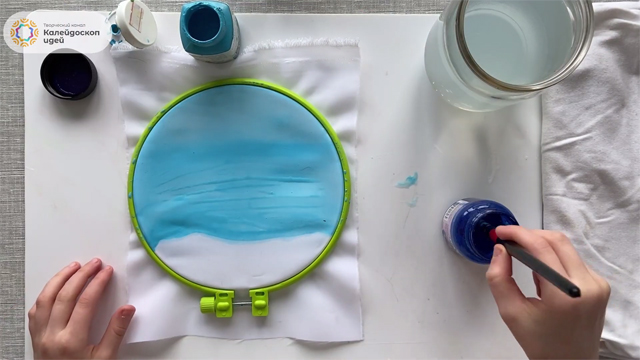
Using light touches with the tip of the brush, we place dots on the fabric with blue paint that will spread, giving our background a beautiful, mysterious shade.
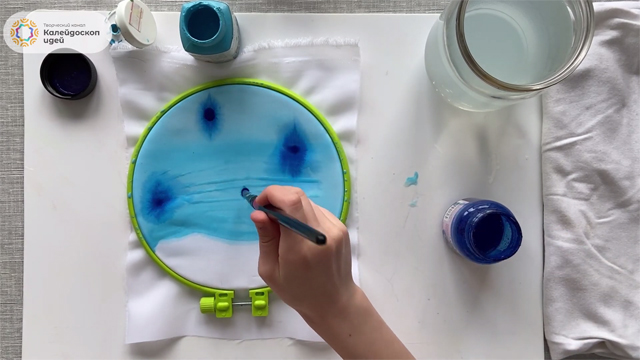
Now let's give our background a slight snow-covered effect.
To do this, take coarse salt and sprinkle it in several places.
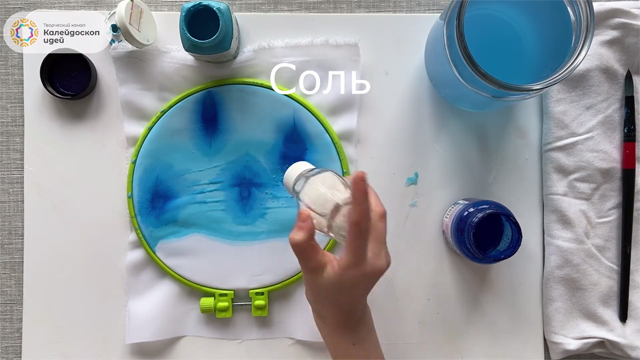
We are getting this preparation.
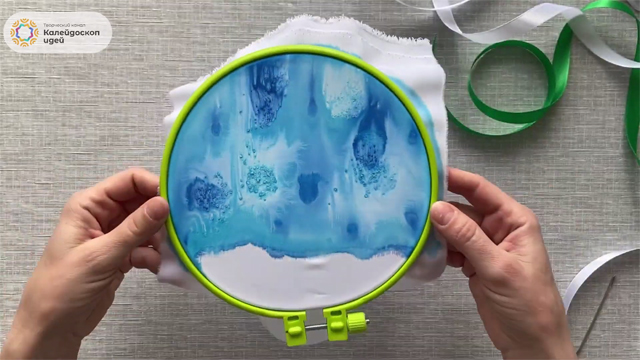
Take a white ribbon and thread it into the needle.
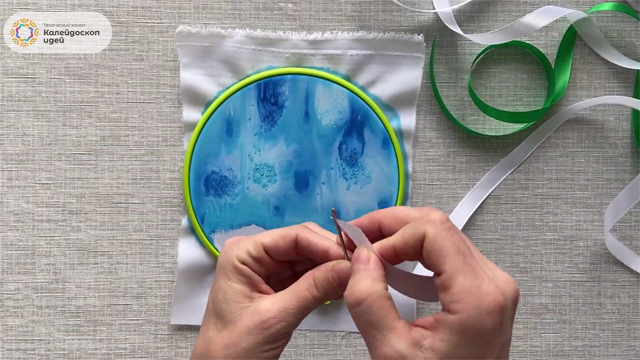
We sew snowdrop petals on our white ribbon fabric.
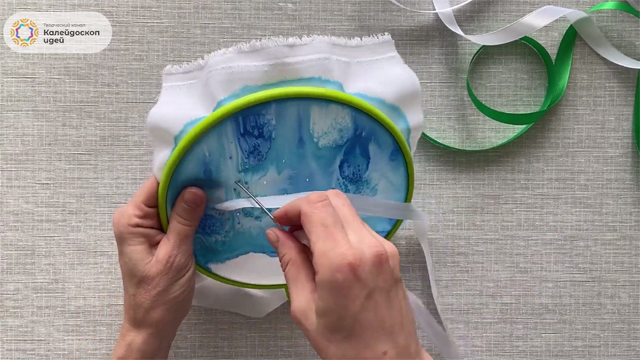
The technology is very simple. At the top, all three petals come out of one hole, and at the bottom they end at different points.
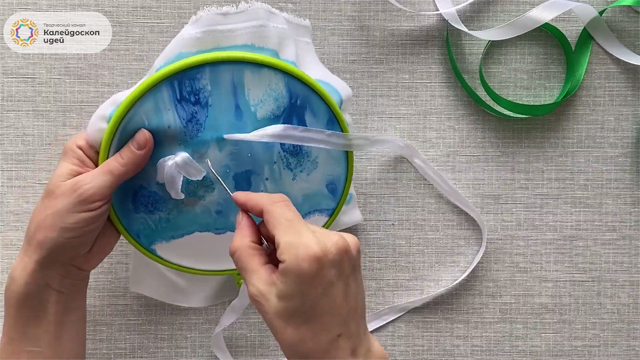
Thus, we embroider three flowers, and our workpiece looks like this.
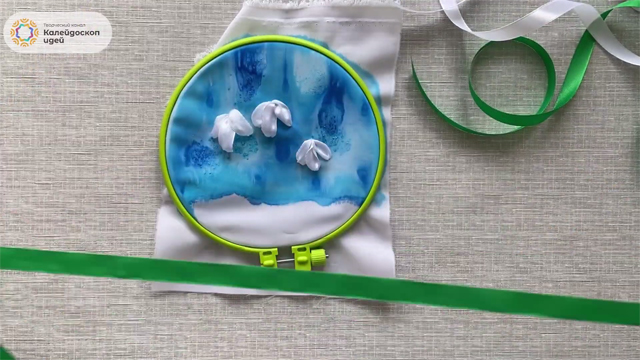
Now we take the green ribbon and also thread it into the needle.
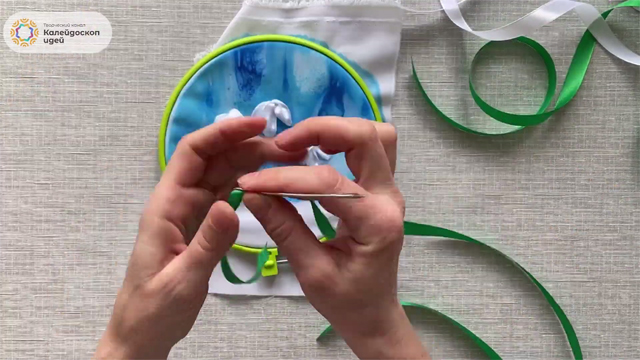
From the same hole where the top of the flower is located, we begin to embroider the stem of our snowdrop.
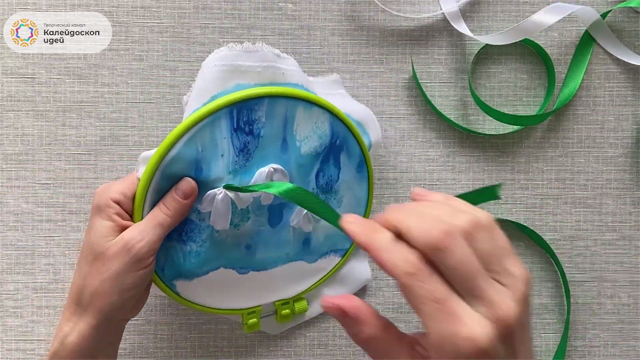
The ribbon can be slightly twisted into a tube to give the stem a more natural look.
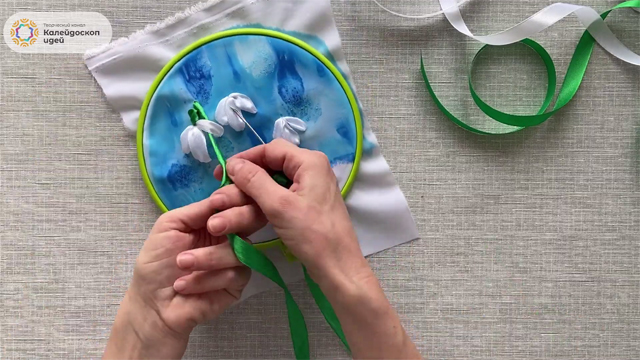
Using a needle, we fix the lower edge of the stem on the fabric.
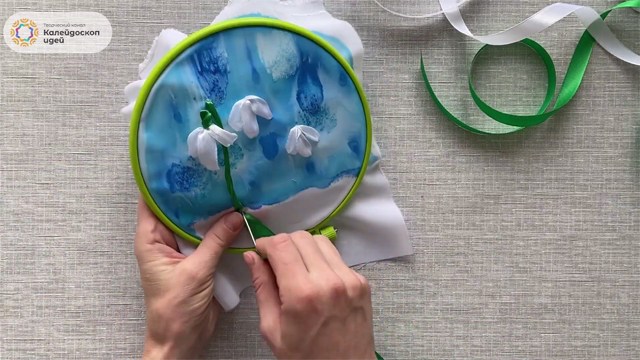
In the end, we get a composition like this, where we already have flowers from a white ribbon and stems with green leaves.
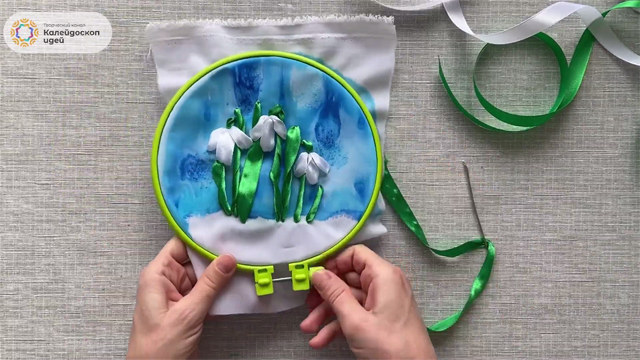
Remove our workpiece from the hoop and leave it to dry.
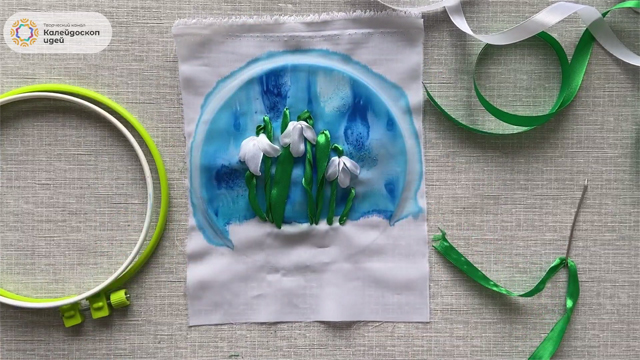
Now we will make the base on which we will attach our canvas.
Cut out a circle of thick cardboard with scissors with a diameter that coincides with the diameter of the hoop on which we created our craft.
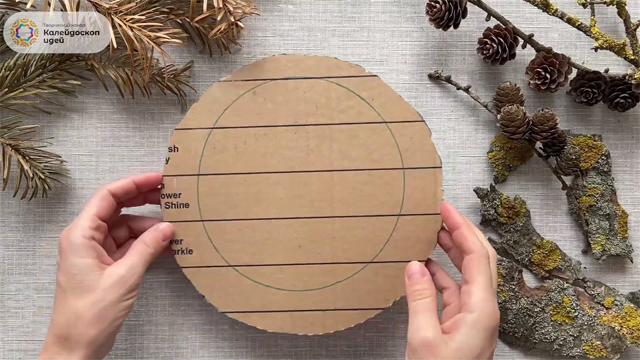
We also cut out a circle of white paper of the same diameter so that when we apply our fabric to it, the cardboard does not show through.
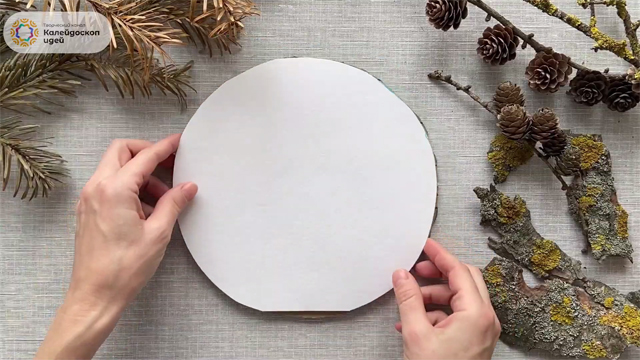
We apply hot melt adhesive to the cardboard.
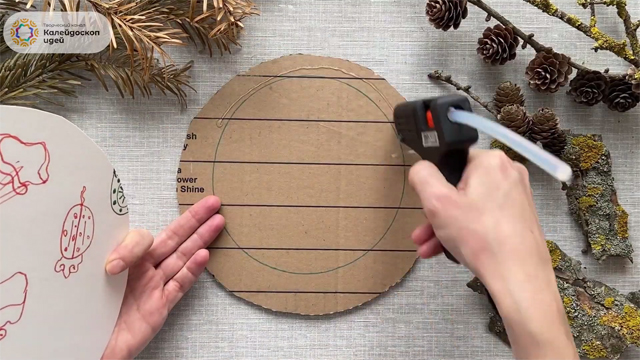
Fix a white paper circle on cardboard.
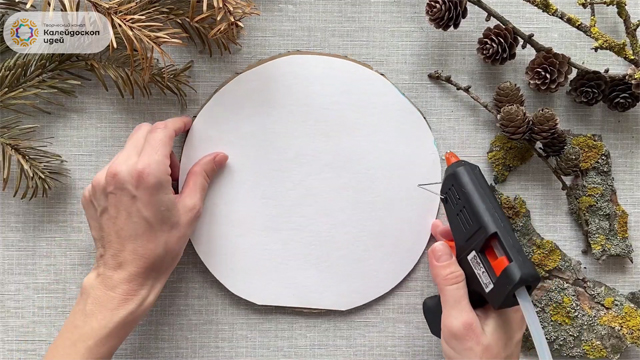
Our foundation is ready.
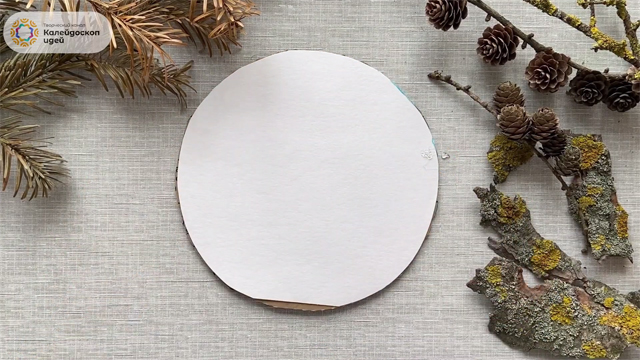
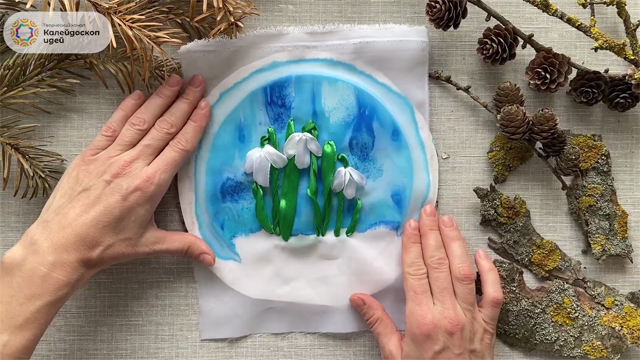
We apply our canvas with snowdrops to the manufactured base.
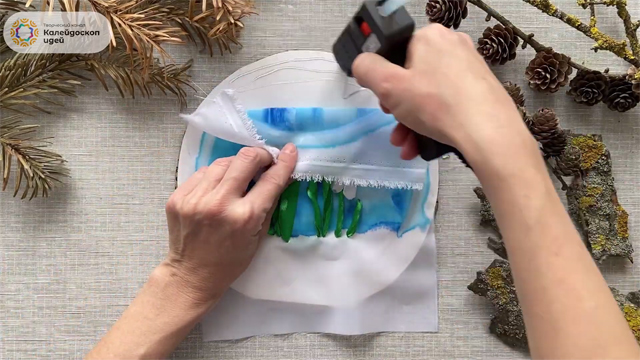
Using the same hot melt adhesive, we attach the canvas to the base around the perimeter.
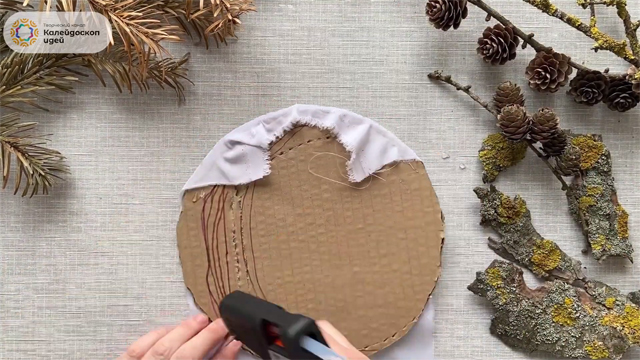
Fix the edges of the fabric to the cardboard on the back of the craft.
All that's left is to arrange our gift.
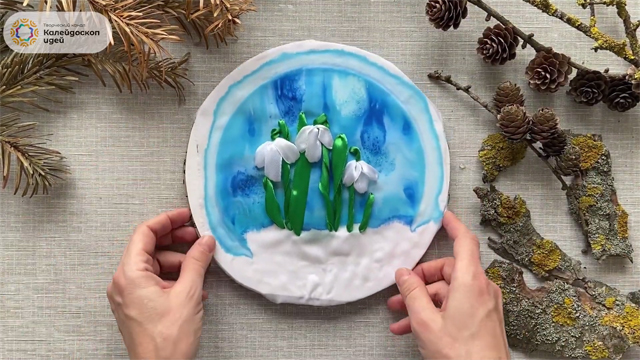
We select small pieces of bark, fir needles and twigs with small cones.
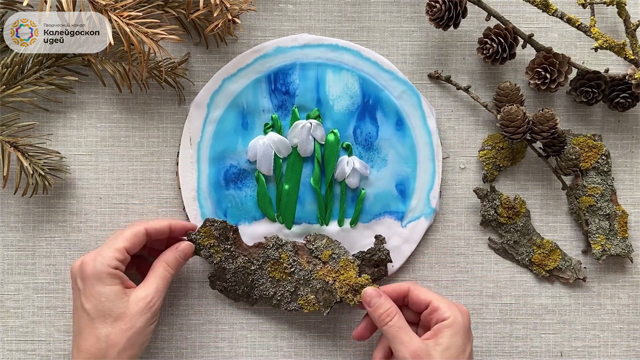
We apply hot melt adhesive to our natural materials.
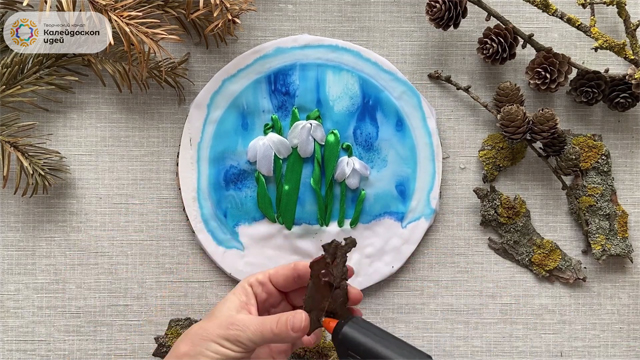
Gently glue pieces of bark around the perimeter of our craft.
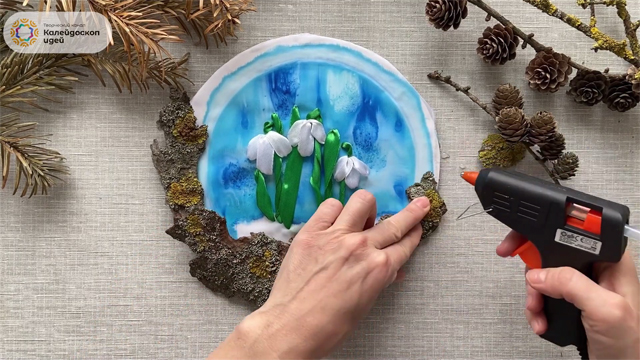
Add fir needles to the composition.
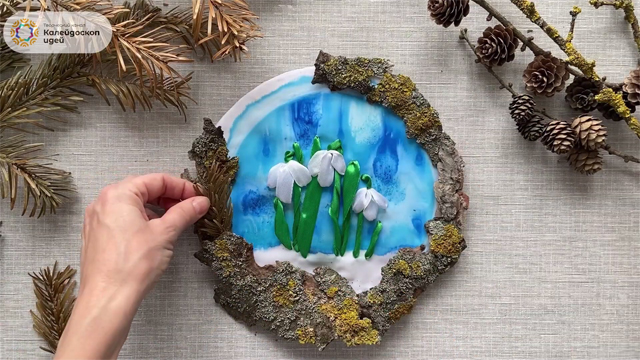
In the lower part of the composition, using the same hot melt glue, we attach a branch with small cones.
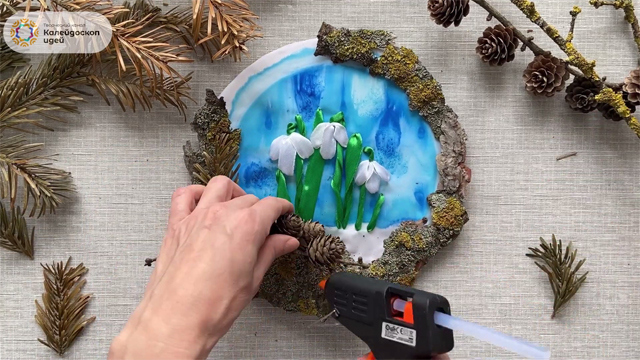
This is what we get.
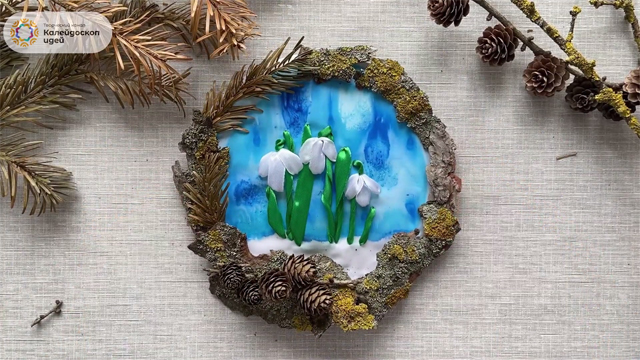
Now we take the same white ribbon from which our snowdrops were embroidered and apply hot melt glue to its tip.
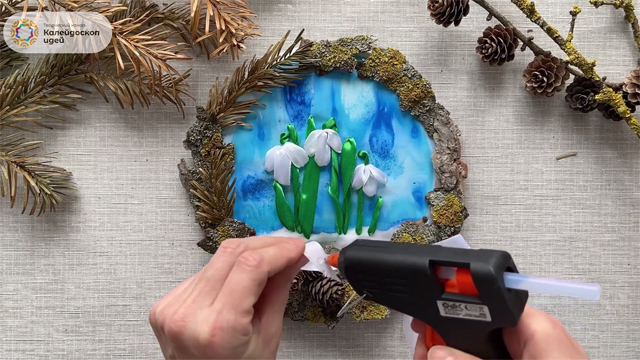
Fix the ribbon under a piece of bark at the bottom of the composition.
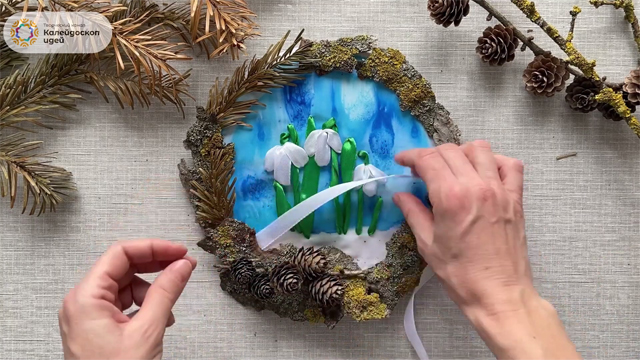
We give the ribbon a serpentine look and form it at the bottom of the craft into something resembling the snow cover from under which our snowdrops make their way.
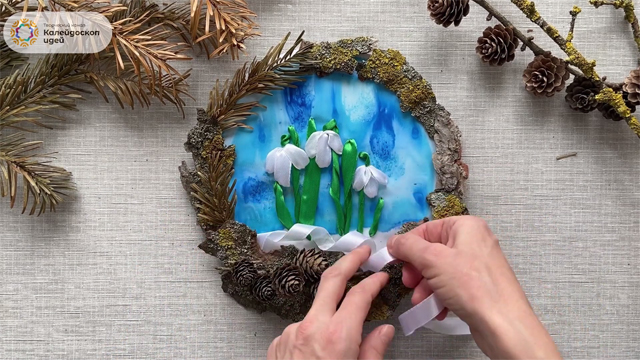
The finishing touches are left.
Take a brush and apply white gouache to it.
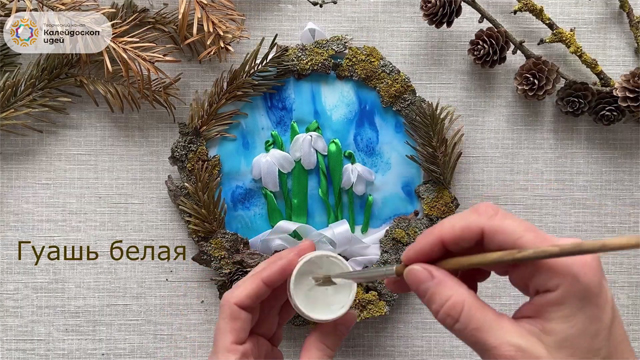
We begin to slightly tint the tips of the cones, bark and spruce needles.
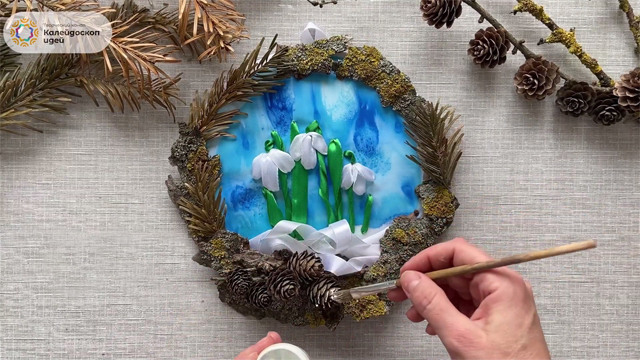
We perform the movements in small strokes so that this gives the composition the illusion of melting snow.
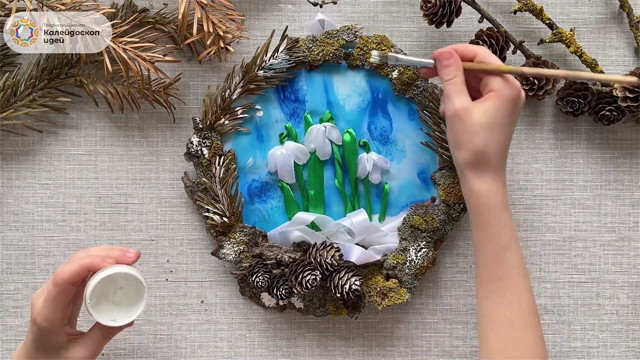
Well, that's it! Our gift for March 8 is ready!
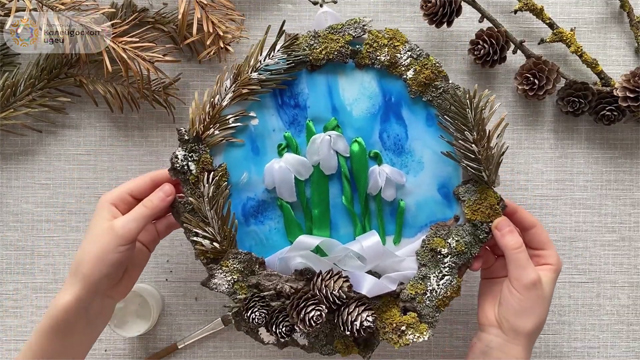
Now see how the whole process of making it looks like in the video.
A great souvenir! Isn't it?
Try to do it yourself, and your favorite ladies will definitely not remain indifferent to this kind of attention!