 Useful tips
Watch the video, If you are too lazy to read
Watch the video, If you are too lazy to read
In summer and autumn, you can find a huge amount of natural materials from which you can make many interesting crafts.
Beautiful and interesting crafts from leaves, shells, acorns, stones, fruits and vegetables can be made with the family, involving children who will be very interested in creating something from materials, created by nature itself.
All you need is imagination and a few extra tools.
Feel free to arm yourself with ideas and create beautiful crafts.

See also: DIY craft ideas
On our site you will also find:
Bird feeders: instructions, photos and original ideas DIY
crafts from cones DIY acorn
crafts
DIY crafts on the theme “Autumn”
Crafts for home
We make crafts with our own hands: photos, diagrams, instructions
Beautiful crafts made of natural material with your own hands
Beautiful and simple appliques for those who love autumn
Crafts from improvised material
Children's crafts for kindergarten
Crafts from leaves with your own hands
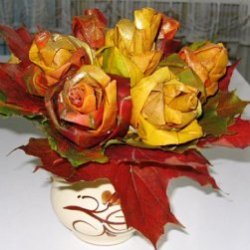
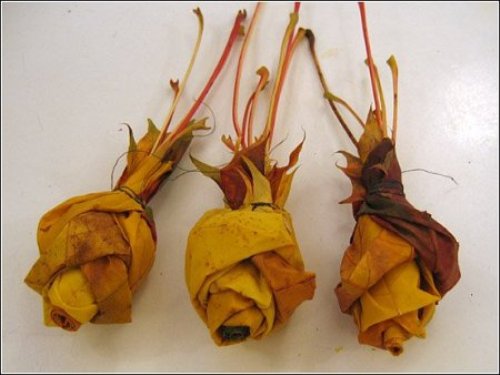
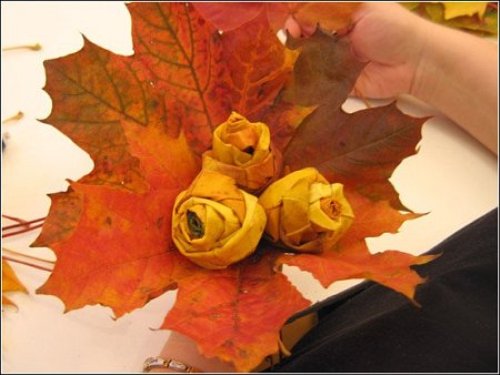
Crafts made of natural material. Maple leaf roses.
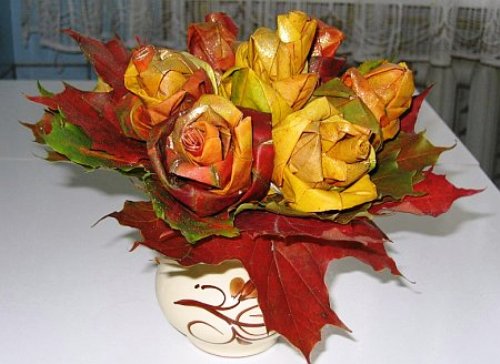
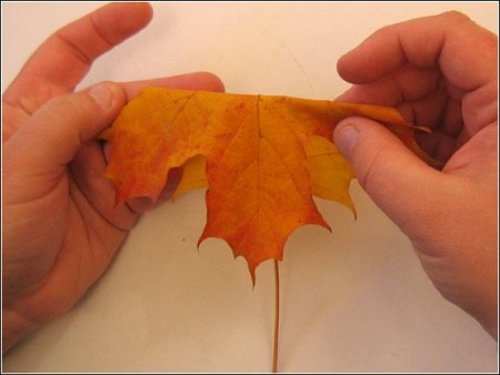
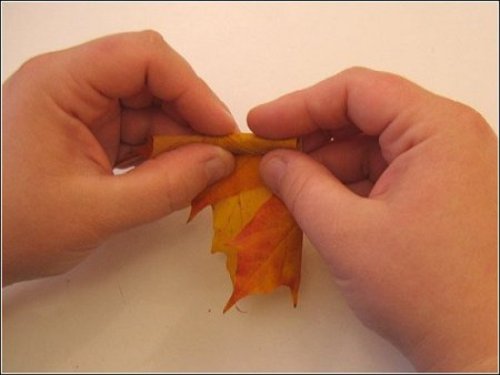
1. Prepare the leaf and fold it in half, as shown in the image. After that, roll it into a thick roll, and you will get the core of the flower.
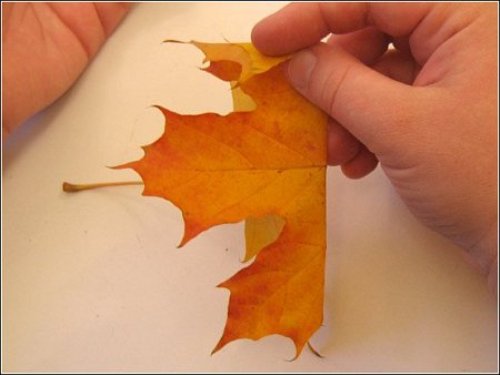
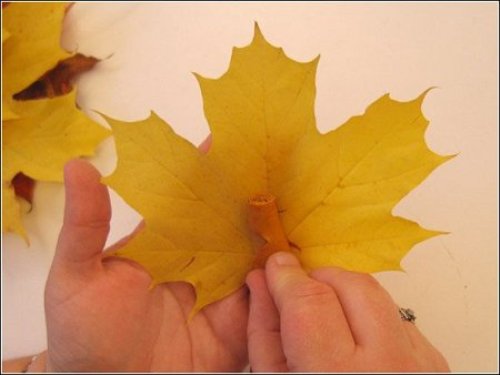
2. Now start enveloping the core with other petals. To do this, you must first take a leaf and then insert the core of the rose into its center. Next, bend the sheet outward in half so that its edge is about 1 cm above the core.
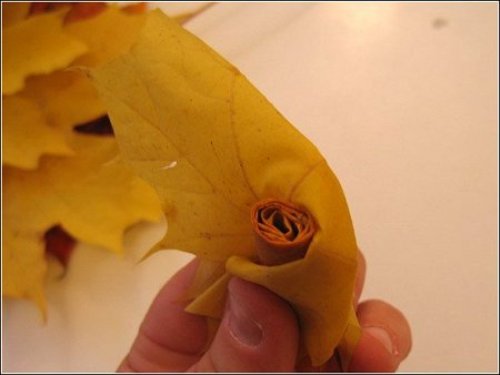
3. The protruding edge of the leaf must now also be bent outward, without the need to smooth the fold, and the side edges should be wrapped on both sides around the central part of the flower.
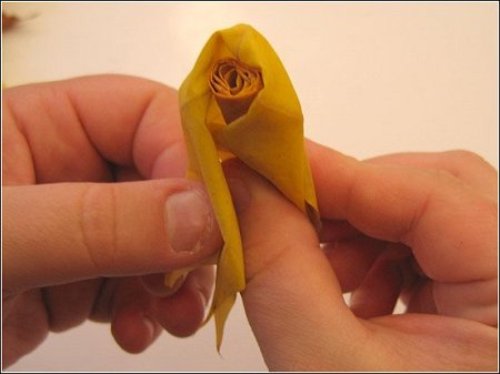
4. Prepare a new leaf and repeat steps 2 and 3. The only thing to mention is that this petal is on the opposite side of the first leaf.
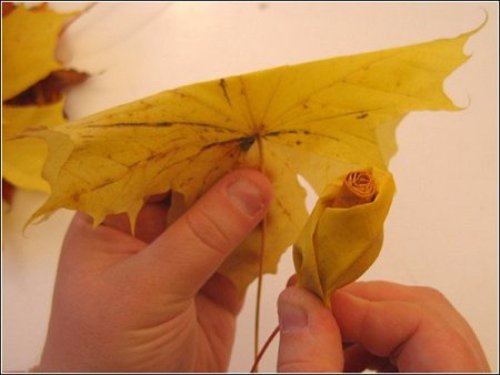
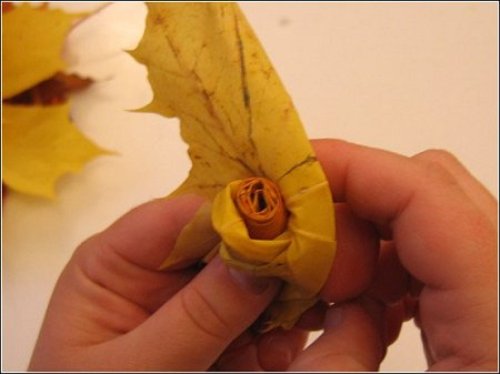
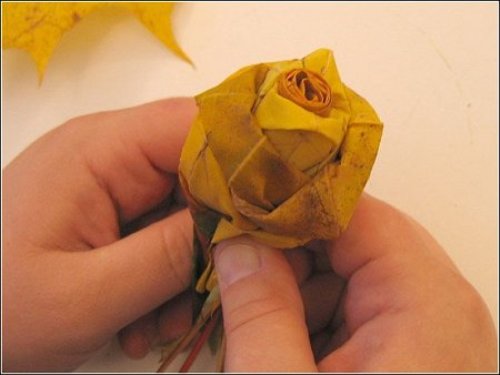
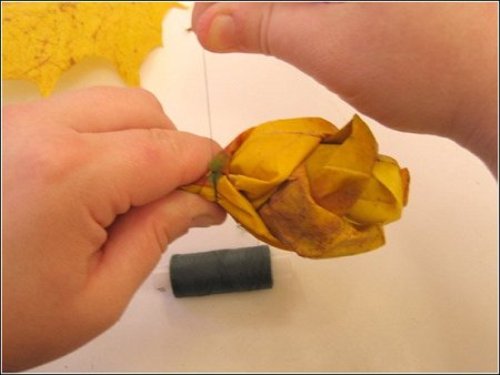
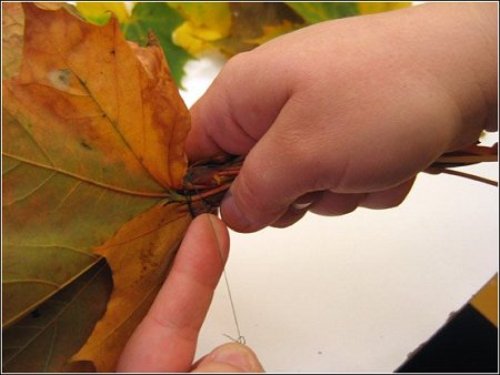
5. After you have made the bud, tie its base with threads.
See also: Plasticine crafts
DIY crafts from cones. Basket.
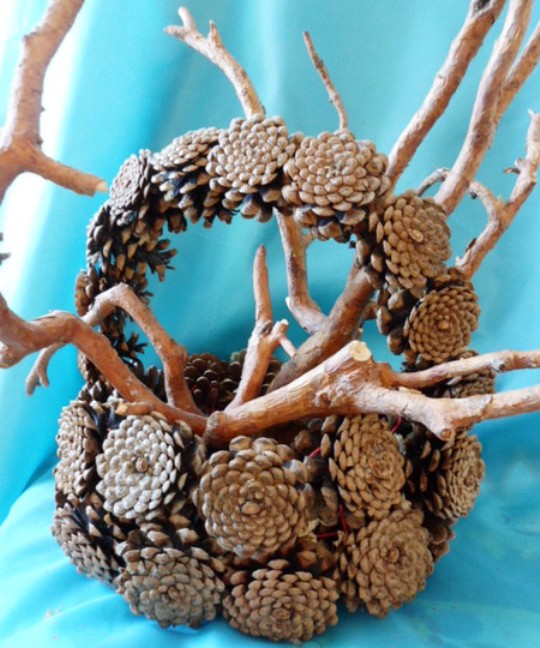
1. Prepare the cones and fasten them together with a stiff wire.
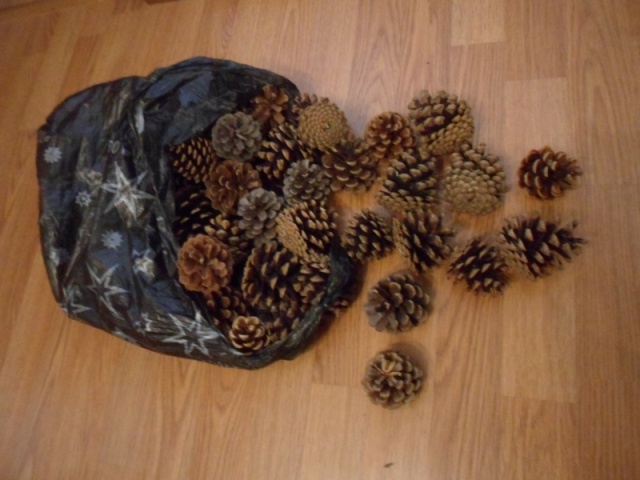
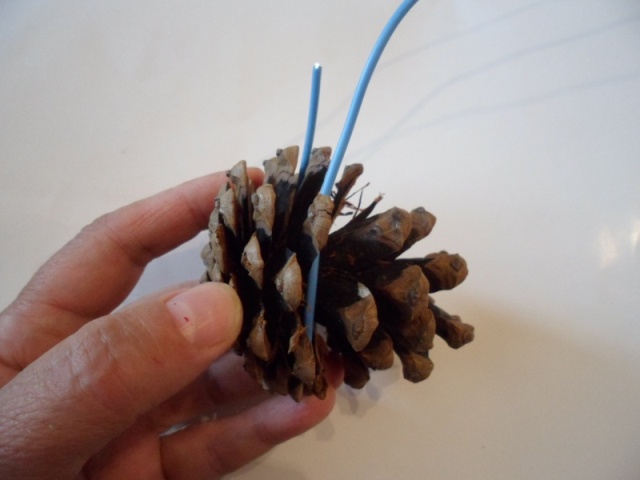
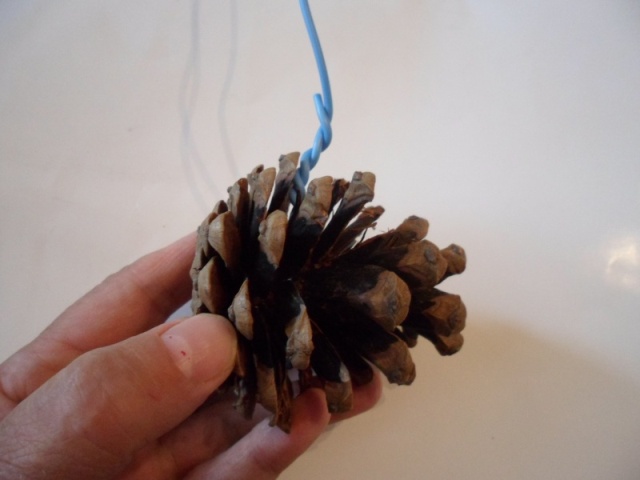
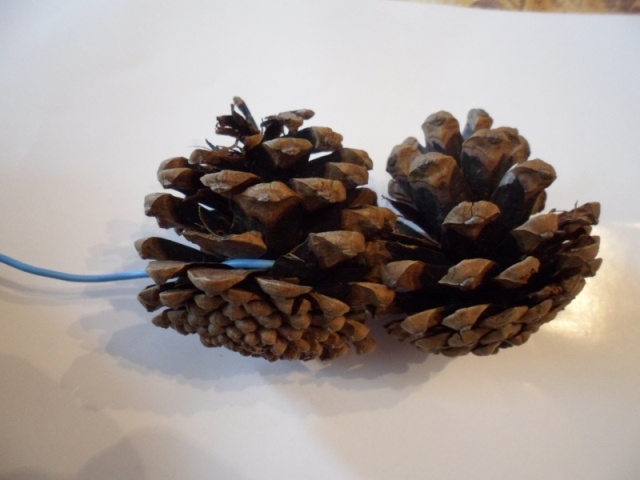
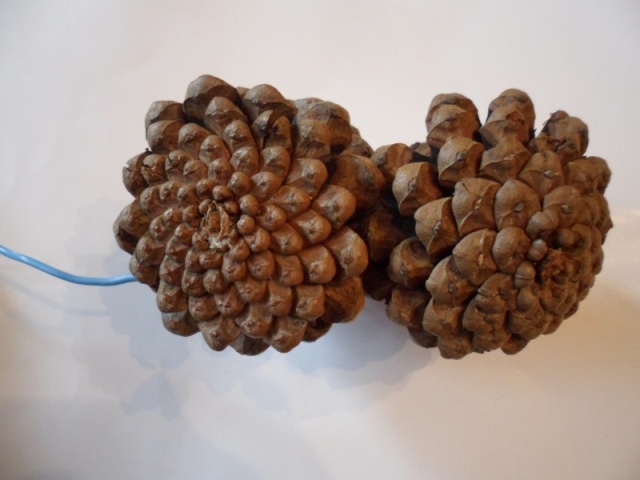
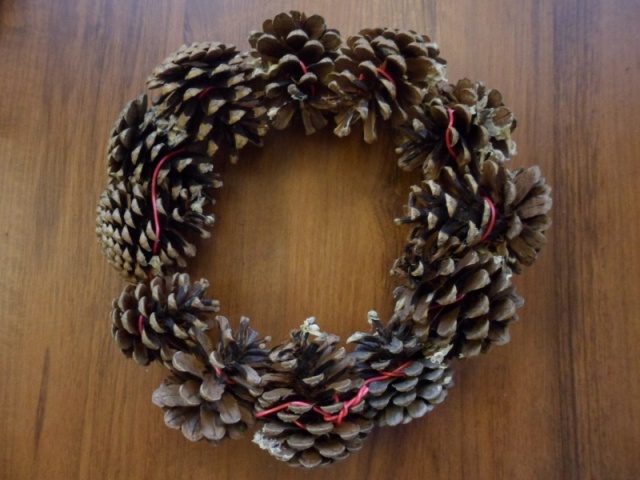
2. Connect the cones and tie them in a circle. In this example, 2 circles were made to make the basket deeper.
3. If you have made 2 or more circles, then fasten them together, this can be done with the same wire.
Read also: Beautiful and simple applications for those who love autumn
4. If you want to make a handle for the basket, you can try to make a semicircle out of the cones by connecting them with wire or using liquid nails.
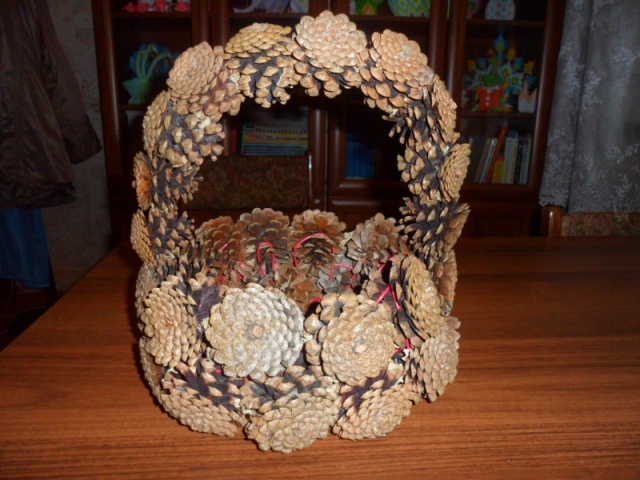
5. To make the bottom of the basket, you can use thick cardboard or plywood.
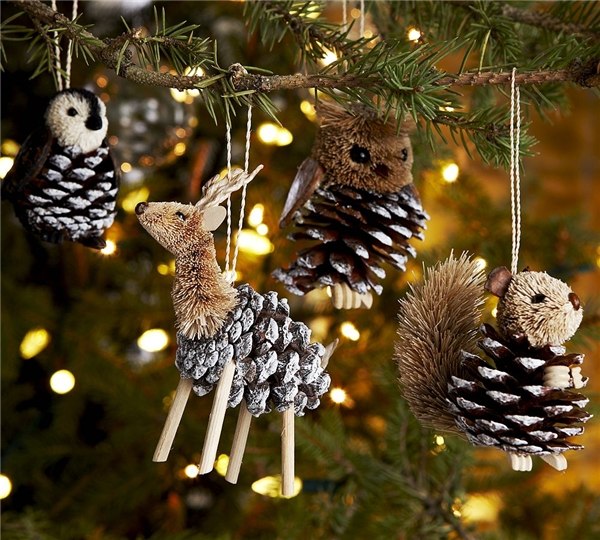
Crafts for home. Christmas toys made from natural materials.
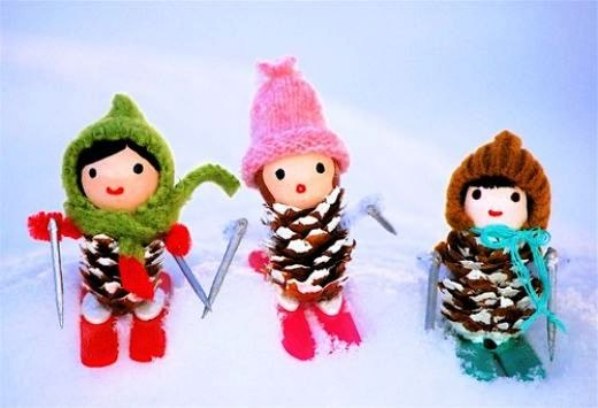
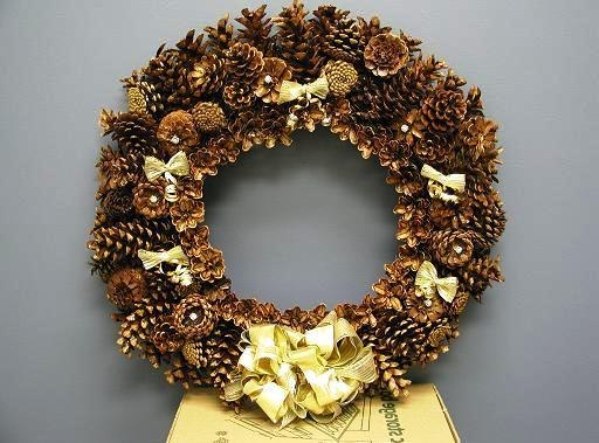
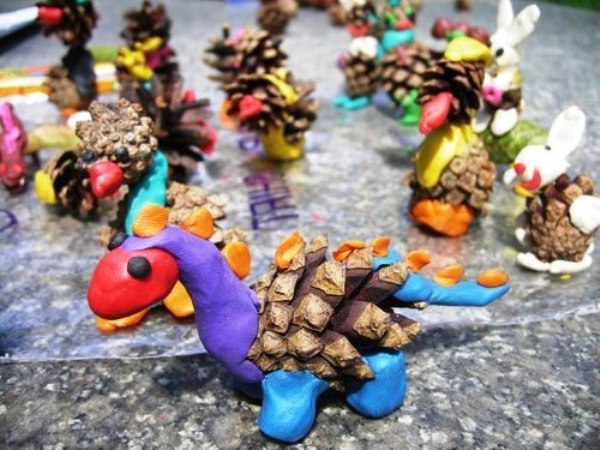
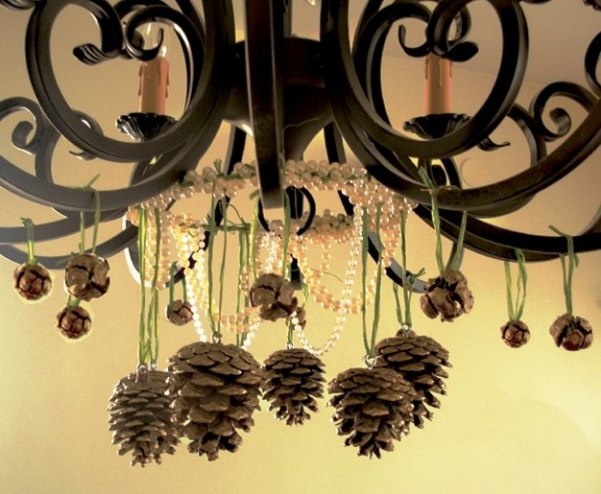
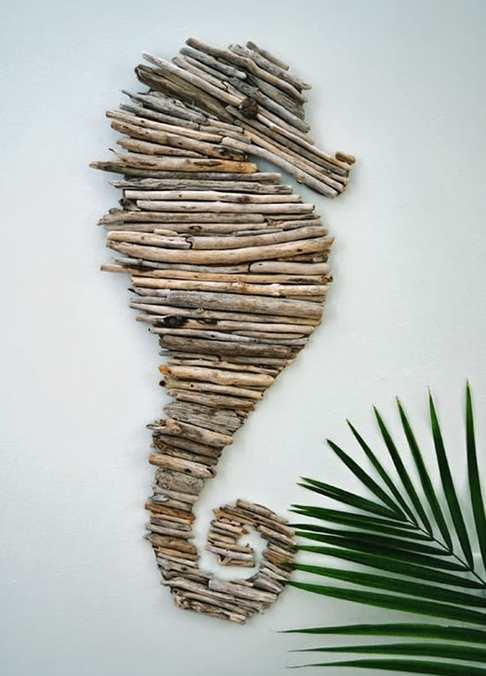
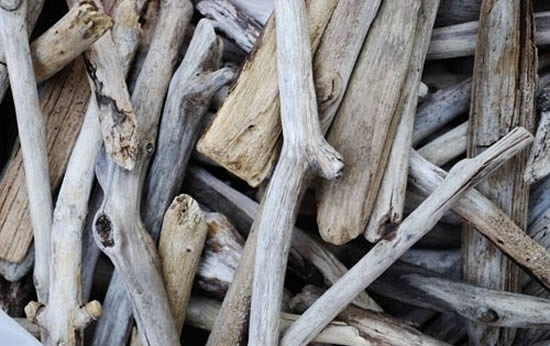
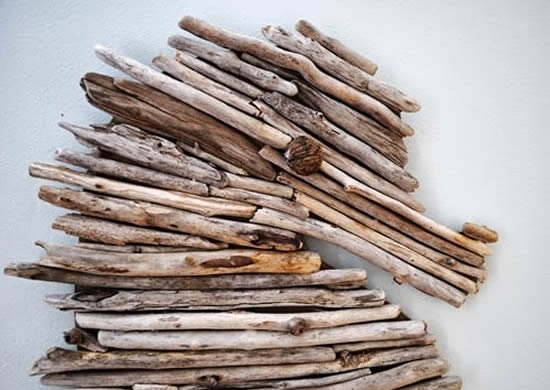
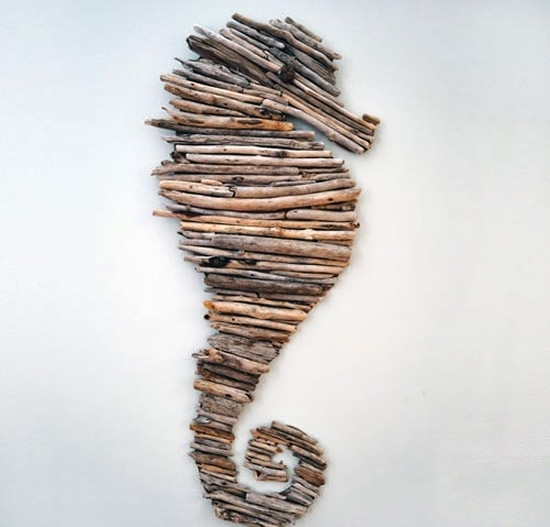
Children's crafts made from natural material. A seahorse made of branches.
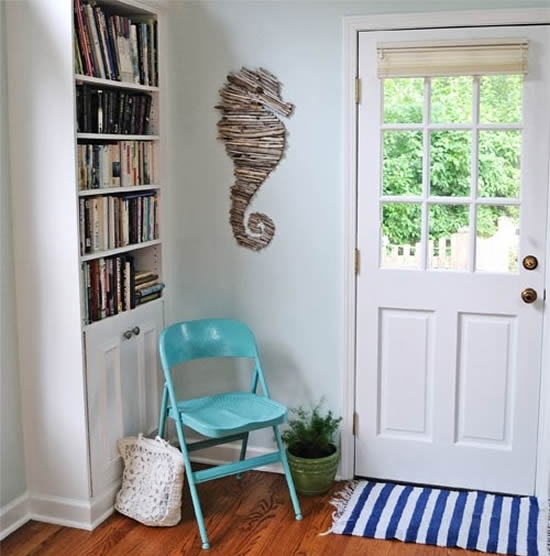
It's simple here.
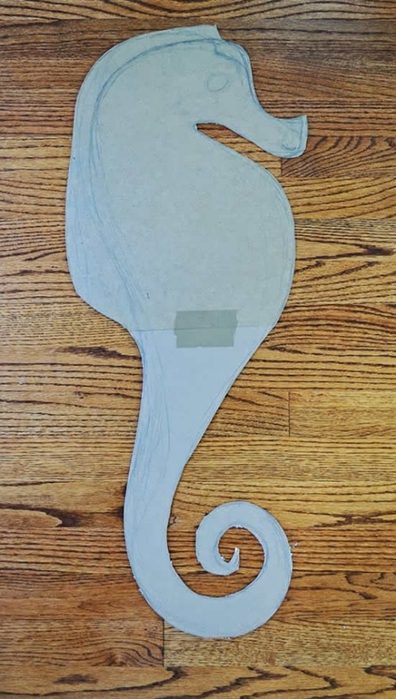
Prepare a cardboard and draw a seahorse (or other animal or object) on it.
Saw off or gently break the branches and use PVA glue or superglue to attach them to cardboard.
Read also: The 20 most simple crafts for everyone and everyone
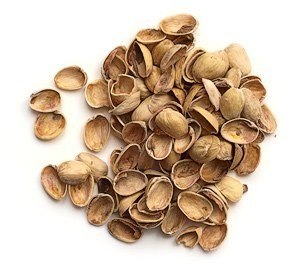
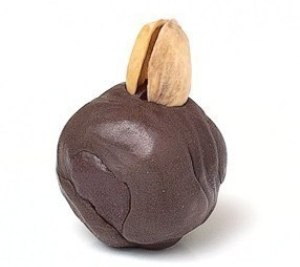
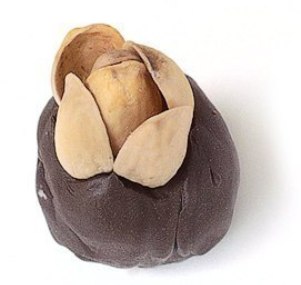
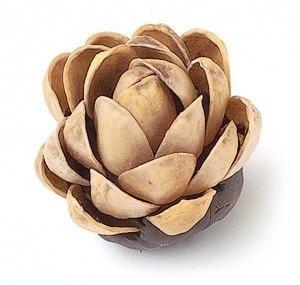
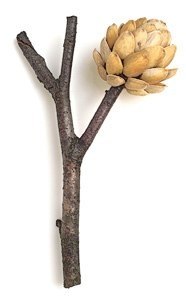
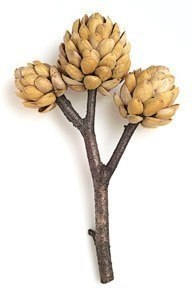
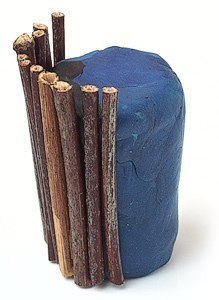
Crafts (master class). Pistachio tree.
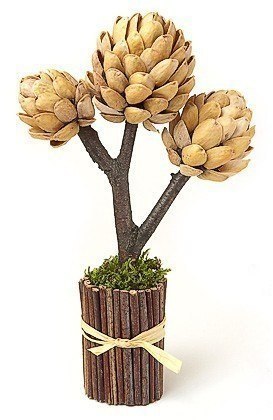
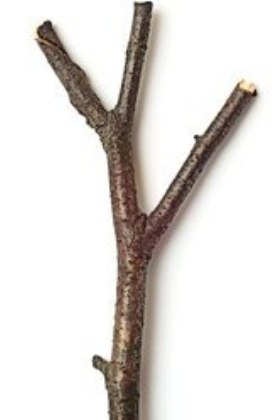
You'll need:
– twigs (several even and one like a tree)
– pistachios (shell)
– plasticine
– tape and artificial grass (optional)
Crafts made from vegetables and fruits. Apple swan.
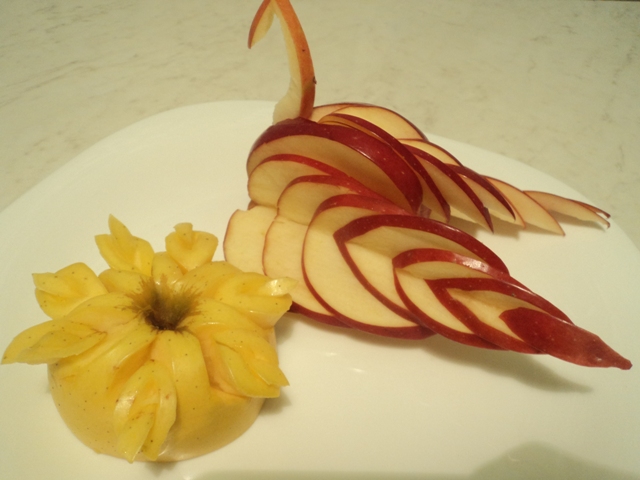
An ordinary apple can be used to make a very beautiful table decoration, and this is not difficult at all. Children will especially love this surprise.
You'll need:
– an apple (preferably a large one and of the same color – for example, red – so that the contrast is better visible)
– a small, well-sharpened knife
You can also learn from the video tutorial how to make a flower next to a swan so that the composition looks complete.
Fruit crafts. Banana dog.
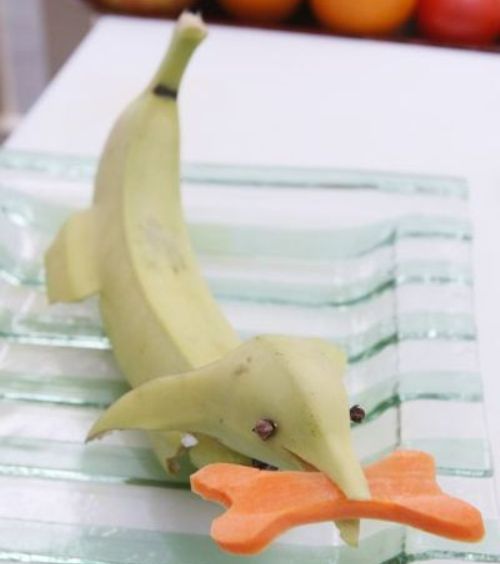
You'll need:
– banana
– a small knife
– toothpicks
– carrot (optional)
– clove spice (optional)
1. First you need to trim the banana tail. Take the fruit in your hands, turn it with its tail down. On the “abdomen” of the banana, you need to make 8 cuts. These cuts are for making the dog's thighs and legs.
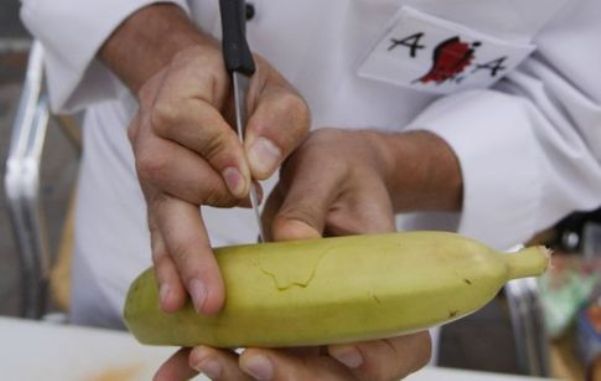
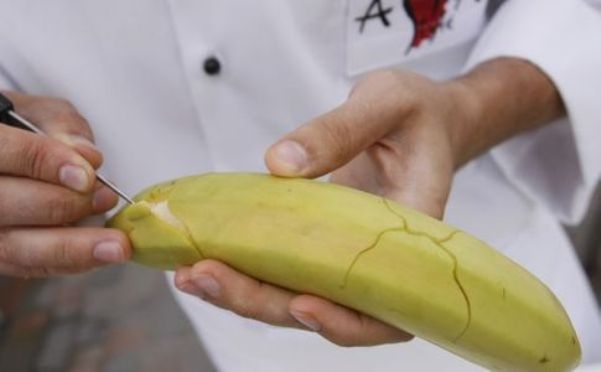
2. Prepare some toothpicks and use them to make spacers between the dog's two pairs of legs. Toothpicks will provide durability.
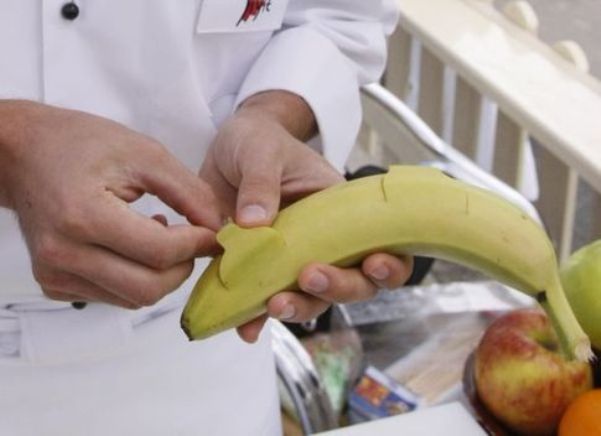
3. Take the second banana and cut off a piece from it from the side of the tail – its length should be no more than 7 cm.
4. Now you need to make cuts on the peel on both sides. These cuts should resemble dog ears – they can be made both sharp and round in shape.
5. The banana dog's face needs to be sharpened
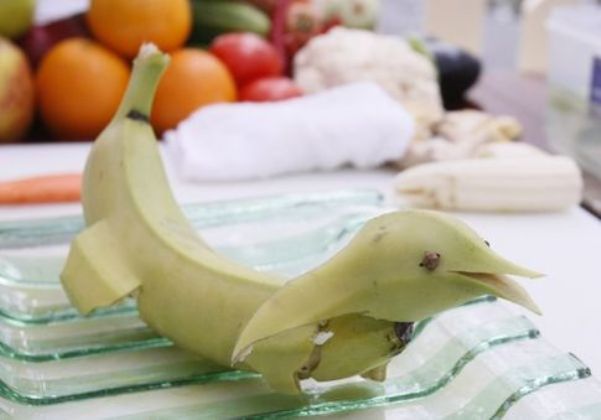
6. At the base of the fruit animal's head, you need to make a notch, then place it around the dog's neck, and use a toothpick to strengthen the structure.
7. If you wish, you can make an incision in the face to obtain the upper and lower jaw. You can insert a carrot bone into your jaw.
8. You can use clove spice as eyes.
Food crafts. Olive penguins.
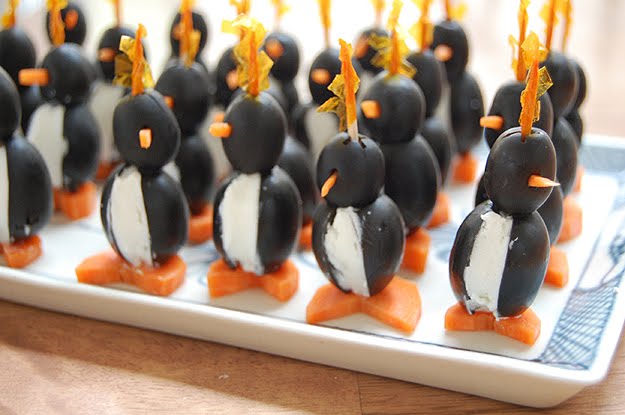
You'll need:
– black olives (olives)
– carrot
– processed cheese
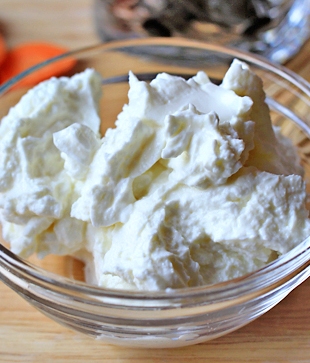
– cottage cheese for ice.
1. Cut the carrots into not very thin slices.
2. Cut a triangle out of each circle – these will be the legs of the penguin.
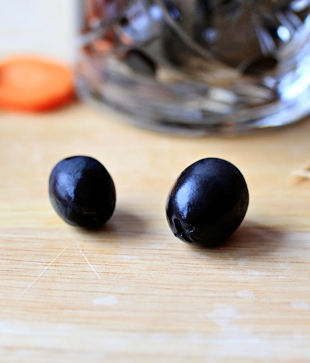
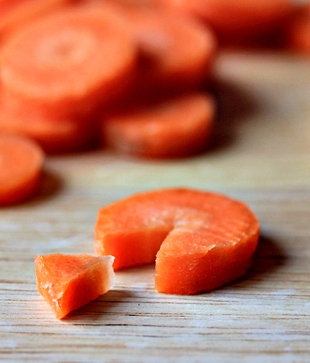
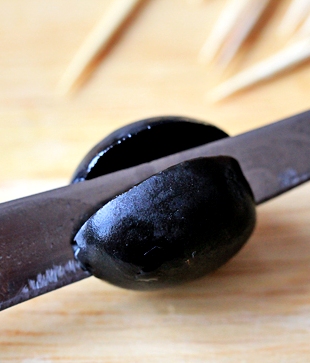
3. Take an olive (it will act as a torso) and make an incision along the product.
4. Fill the black olive with melted cheese. A teaspoon or a small knife can help you with this.
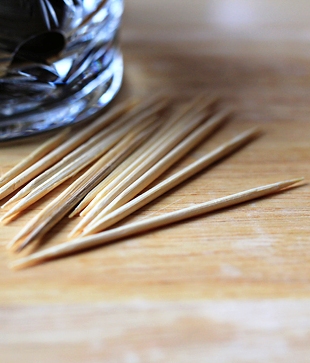
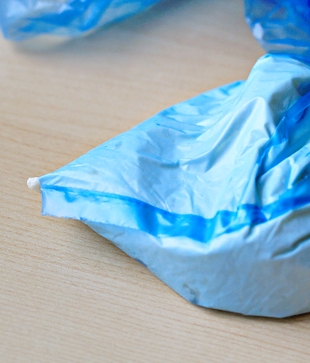
5. Prepare a toothpick and use it to secure your torso on the carrot legs.
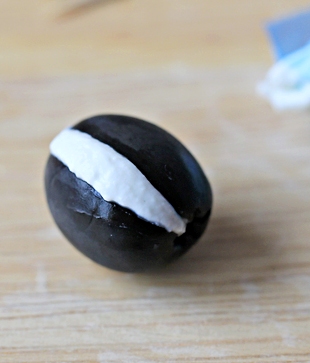
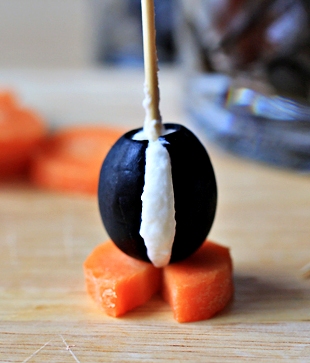
6. Take another olive (head) and make an incision for the penguin's beak.
7. Take one carrot triangle and cut a beak out of it.
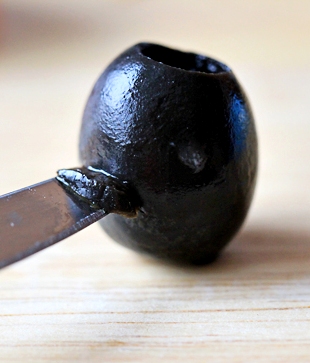
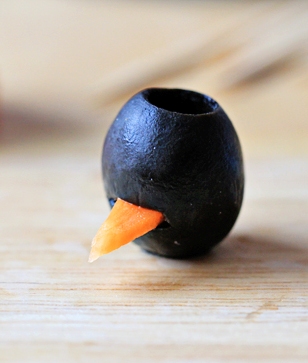
8. Attach your head to your torso.
9. You can use cream cheese to paint your eyes.
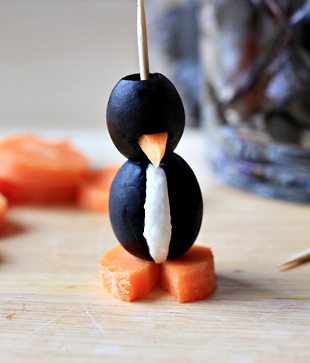
10. Put the cottage cheese on a plate – it will play the role of ice.
* If you want, you can make a few more penguins and place them on the “ice”.
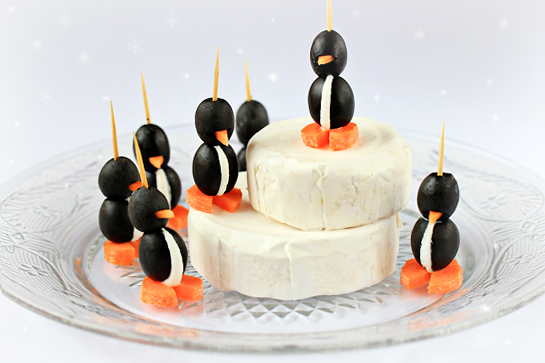
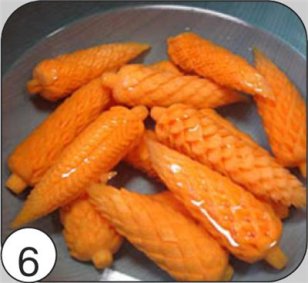
Vegetable crafts. Carrot cone.
1. Prepare a thick carrot and peel it.
2. Cut the tail as shown in the image. Give it a round shape.
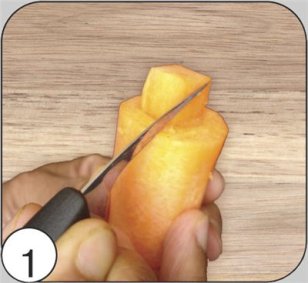
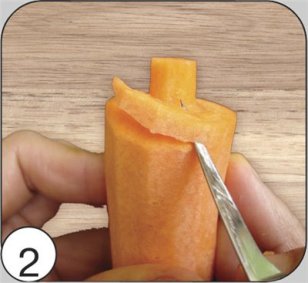
3. Process your workpiece and shape it into a cone if necessary.
4. Start cutting out the scales. To do this, visually divide the thick end of the carrot into 6 parts. The slot must have a depth of no more than 3 mm.
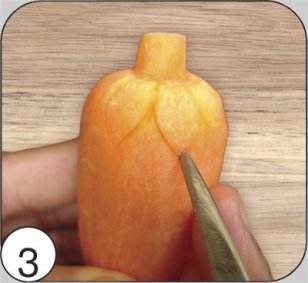
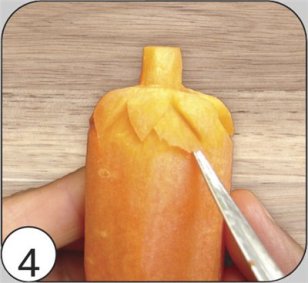
5. Make a cut under the scales and create space for the next row of scales.
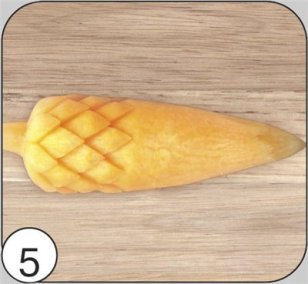
6. Cut each next row in a checkerboard pattern, remembering to cut the space for the next row.
7. To make the “cone” slightly open and become firmer, dip it into ice water for 10-15 minutes.
Video carving lesson
To see how to make carrots, rewind to 2:30.
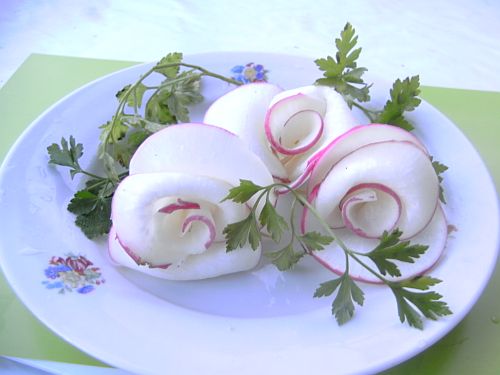
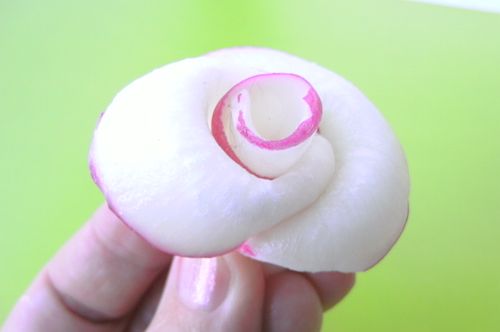
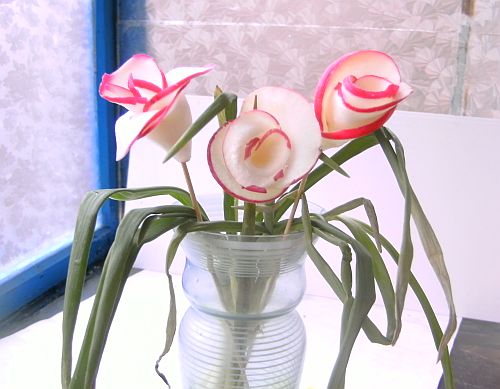
DIY vegetable crafts. Radish roses.
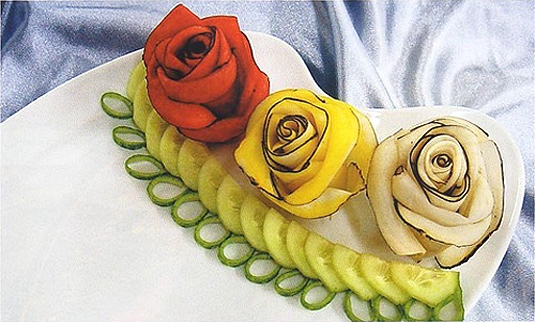
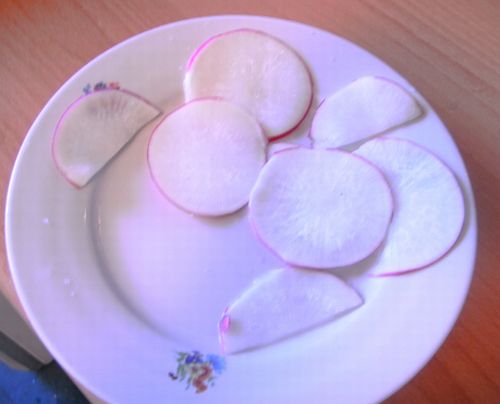
1. Wash the radish and cut it into thin slices. It is not necessary to peel the radish.
2. Roll one of the sliced circles into a tube to make the middle of the rose.
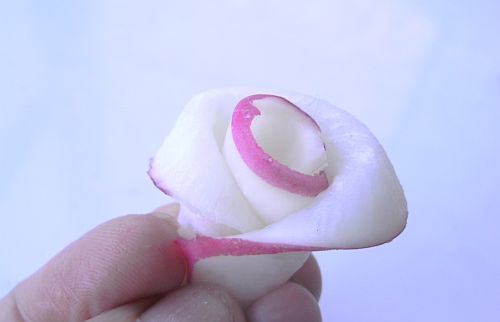
3. Now we need to wrap the middle. This should be done clockwise with some circles and counterclockwise with others.
4. You can cut the base of the flower.
5. Secure the flower with a toothpick.
Children's crafts made from vegetables. Cucumber roses.
DIY fruit crafts. Hedgehogs.
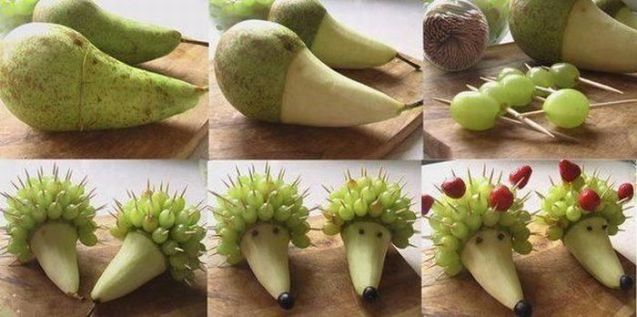
You'll need:
– pear
– grapes (black and green)
– strawberries (optional)
– raisins (for the eyes)
– toothpicks
– knife
1. Make an incision starting in the middle of the pear (see picture).
2. Peel the peel.
3. Prepare toothpicks and plant one green grape on each, which should be closer to one edge of the toothpick.
4. Insert each grape toothpick into the pear, in an uncleaned place.
5. What to do with your nose, put black grapes on the pear pod.
6. To insert raisins (which act as eyes), you must first make small cavities with a knife.
7. If you wish, you can add the cargo that he is carrying to the hedgehog, for this you can use a couple of strawberries.
Crafts for beginners. Cabbage and carrot ice cream for kindergarten and school.
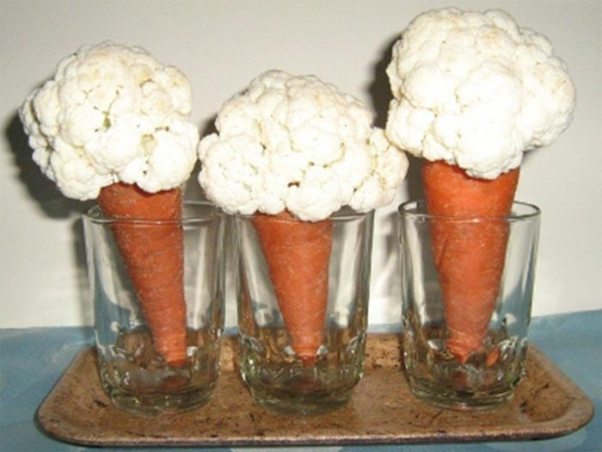
You'll need:
– cauliflower
– carrots
– toothpicks
1. Wash the carrots and put them in cups – they will act as wafer ice cream cups.
2. Place cauliflower on top of the carrot, which can be secured with toothpicks.
DIY vegetable crafts. Squash express.
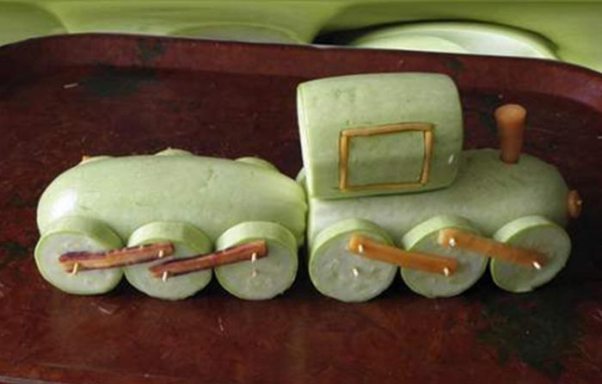
You'll need:
– 4 courgettes
– toothpicks
– cheese
1. Cut the zucchini for the right train parts (see picture)
2. Use toothpicks to fasten all parts.
3. “Connect” the wheels together with pieces of cheese.
Crafts made from shells. Photo frame.
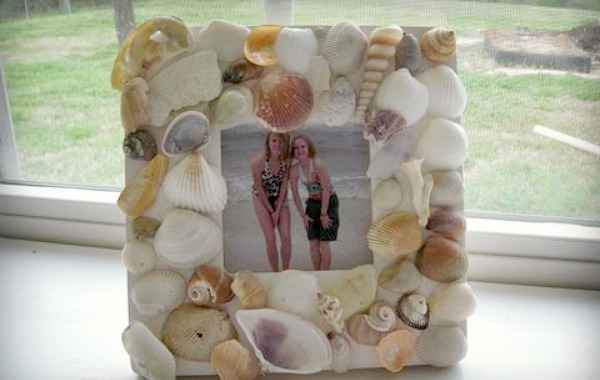
You'll need:
– simple wooden photo frame
– white acrylic paint
– brush
– “Moment” glue (superglue or glue gun)
– seashells
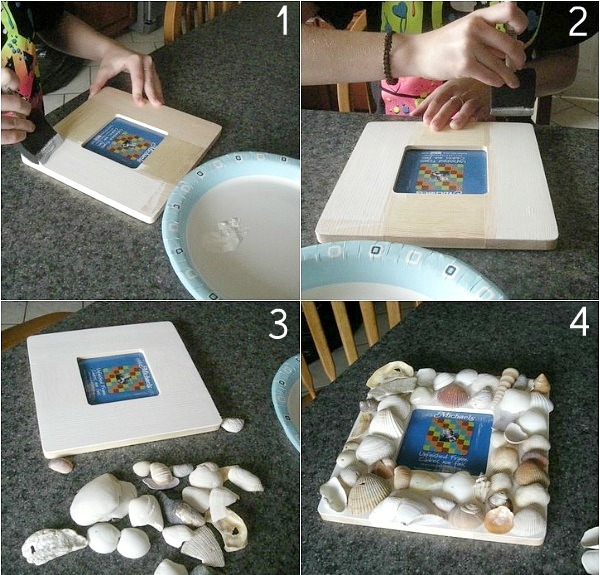
1. Paint the photo frame in any color (if necessary) and leave it to dry, then apply another coat of paint.
2. Before you start gluing the shells, spread them around the frame so you have an idea of what looks best and where.
3. Start gluing the shells to the frame. When you finish gluing, leave to dry.
4. Add a favorite photo.
Here are some more examples of shell crafts:
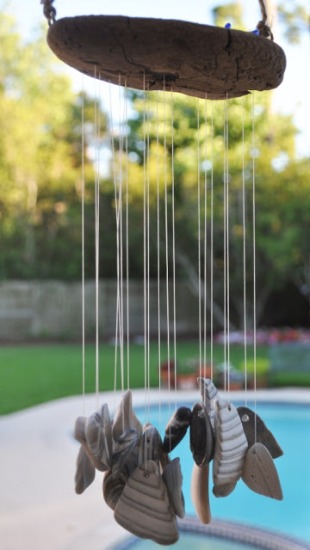
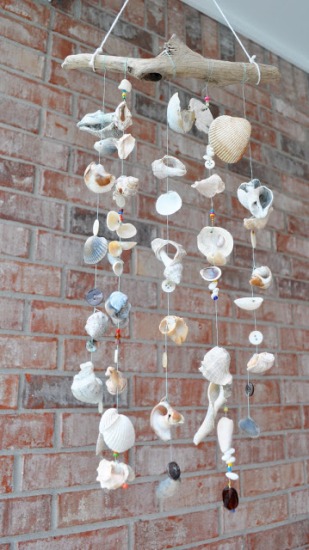
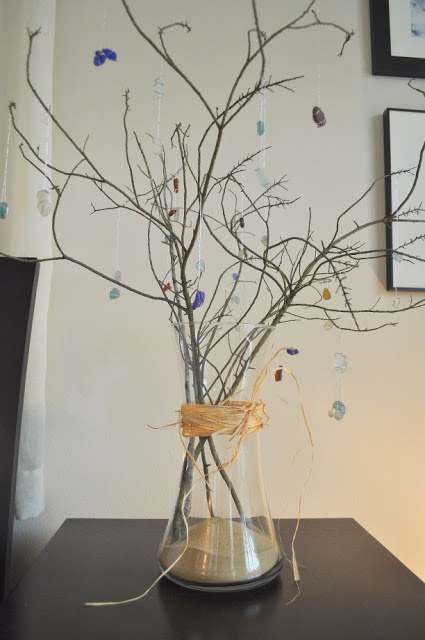
Crafts from shells with your own with your hands. Shell earrings.
How to make a craft. The picture is made of natural materials.
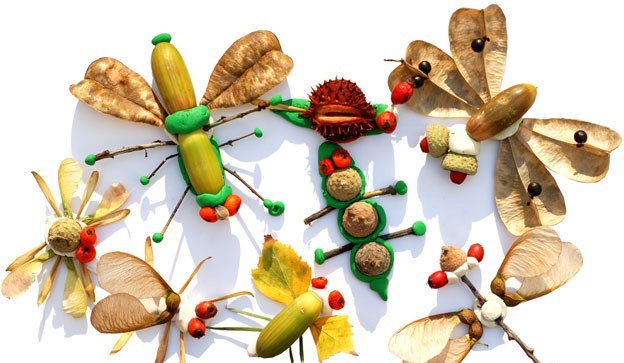
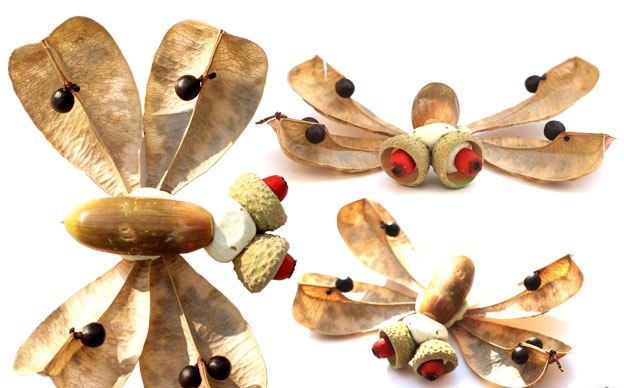
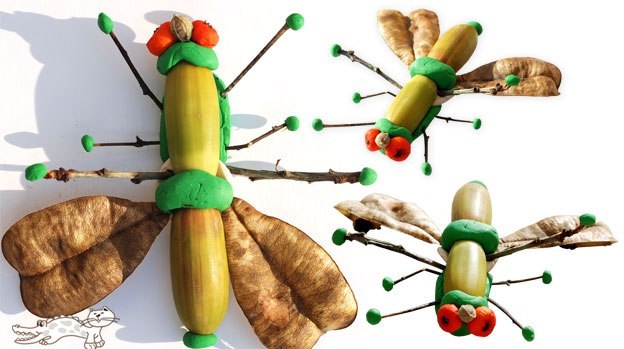
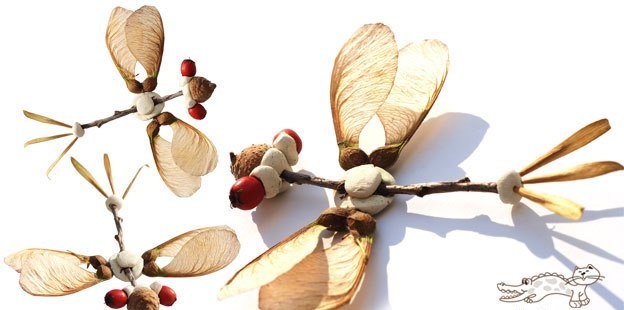
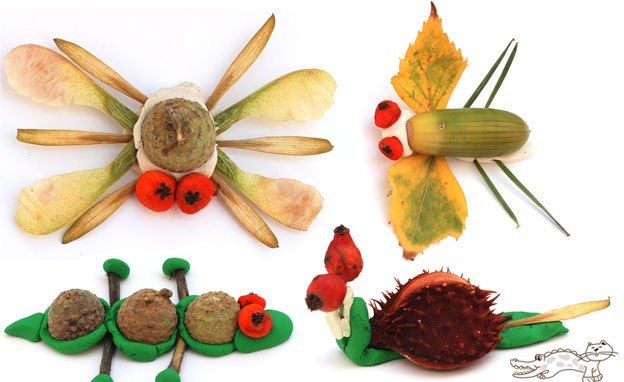
Kindergarten crafts. Insects made from natural materials.
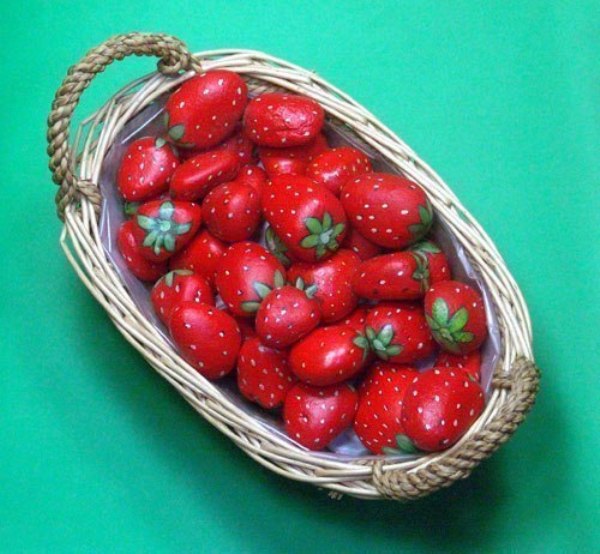
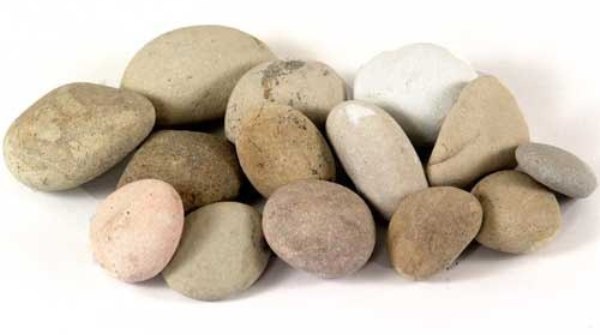
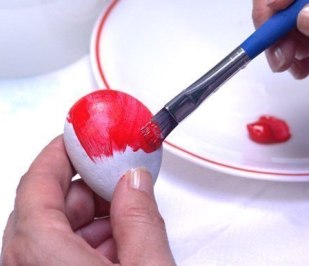
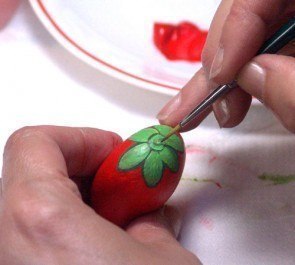
Crafts made of stones. Strawberries.
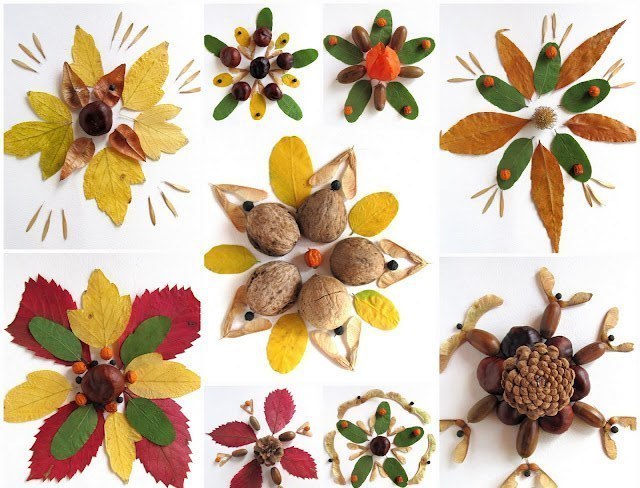
DIY natural crafts. Colorful patterns.
Easy leaf crafts
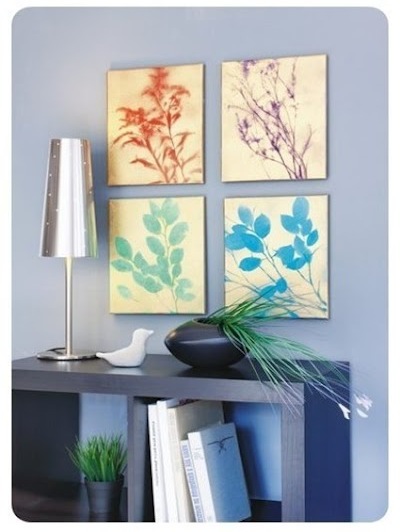
You'll need:
– leaves (flowers and/or other natural materials)
– paper or canvas
– paints (acrylic or spray)
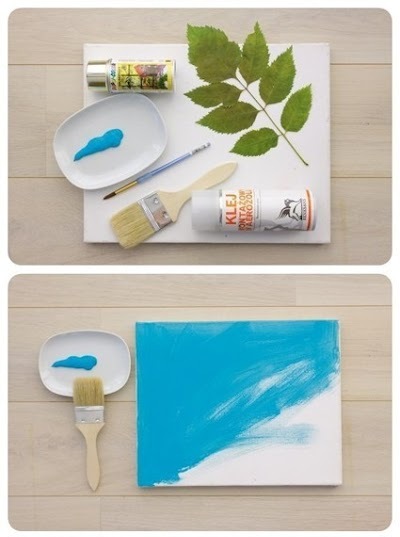
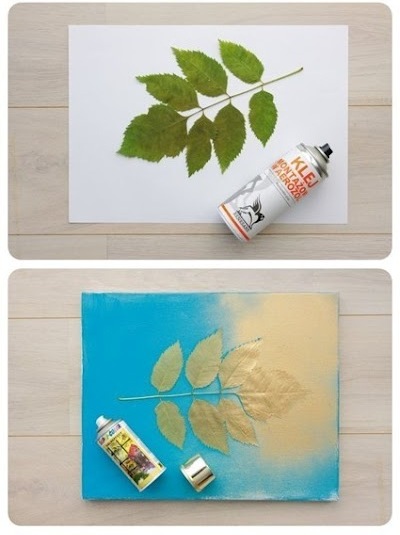
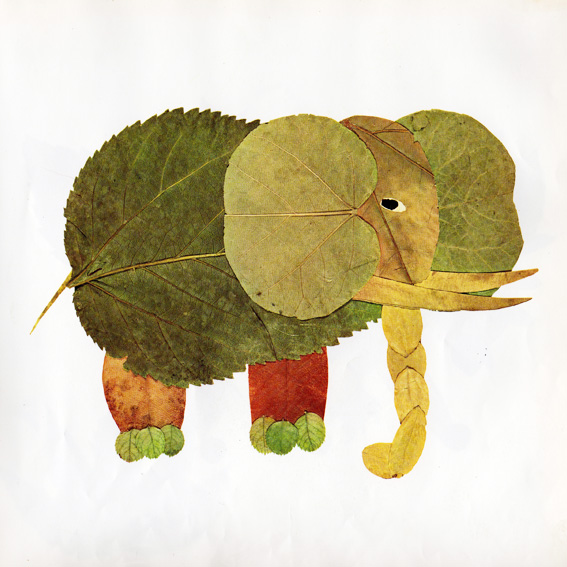
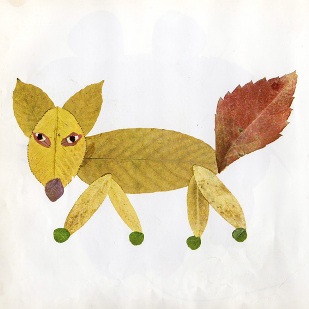
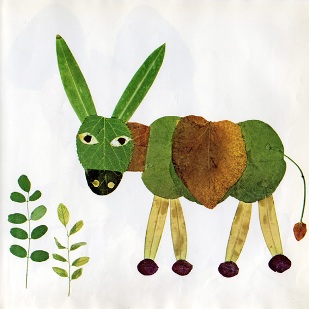
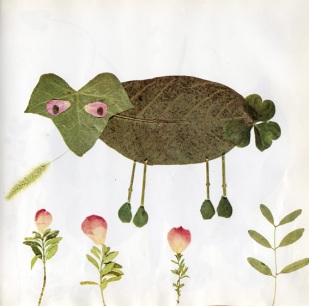
Here are a few more leaf crafts for which you only need paper, glue and, of course, leaves:
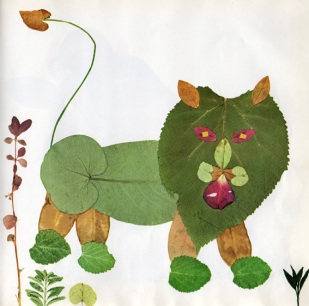
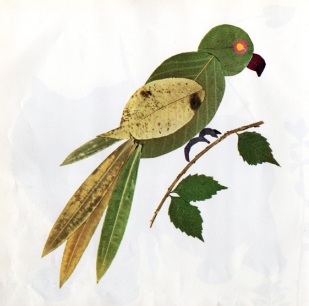
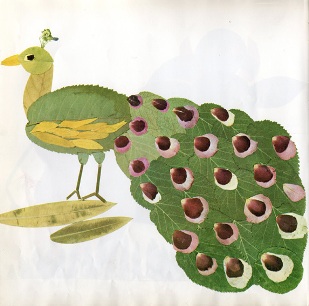
Autumn crafts made from natural material
Here are some more examples of how leaves that have fallen from trees can be used to make beautiful paintings.
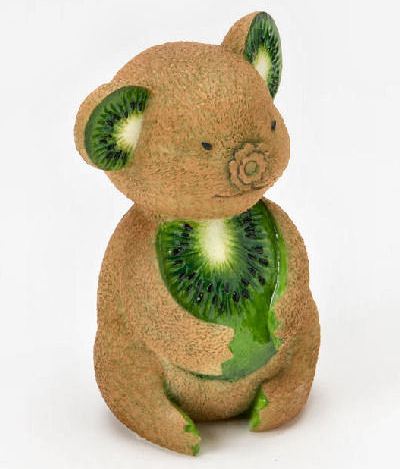
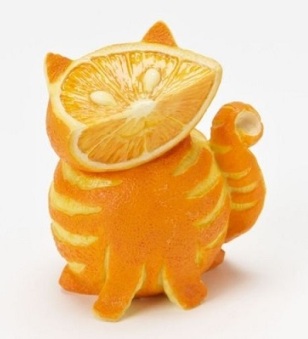
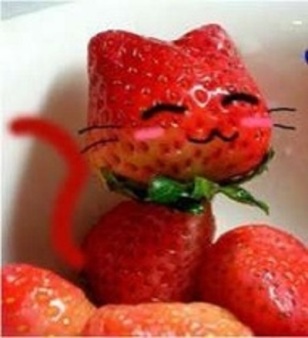
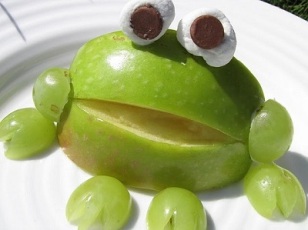
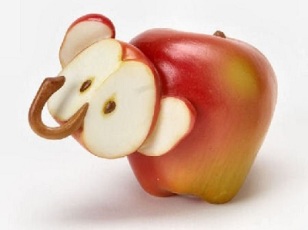
Beautiful crafts. Fruit animals.
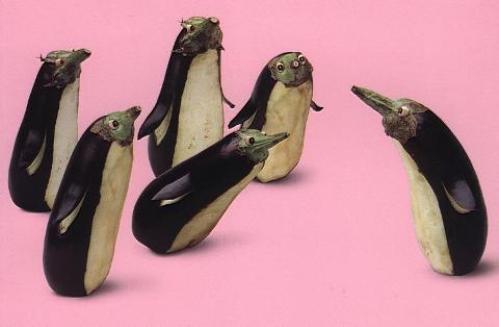
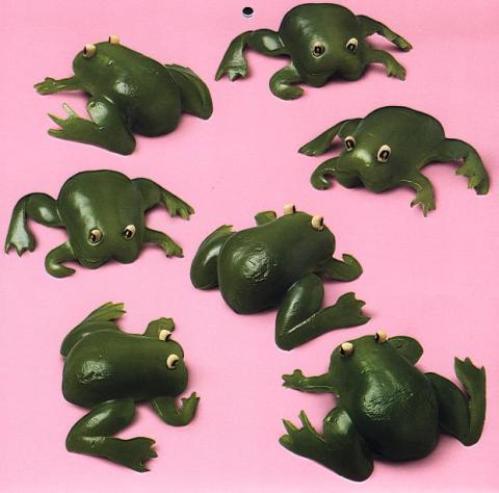
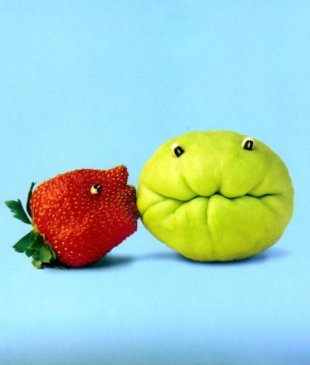
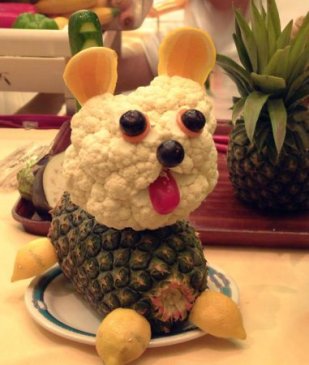
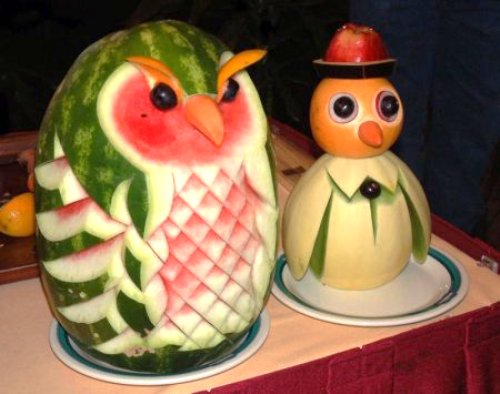
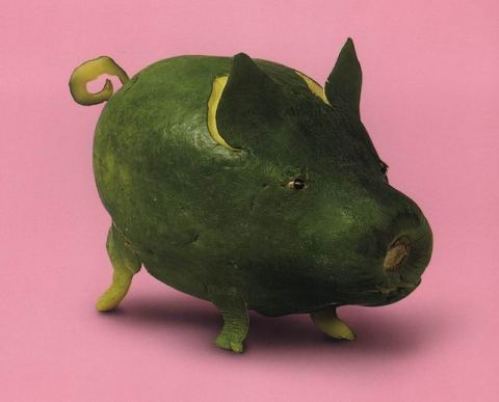
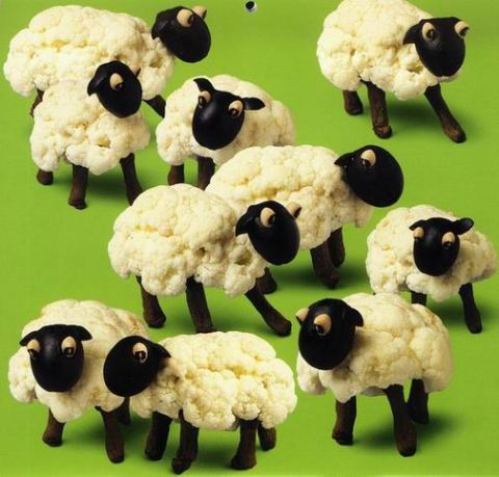
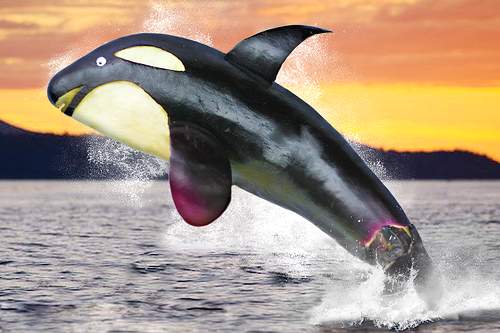
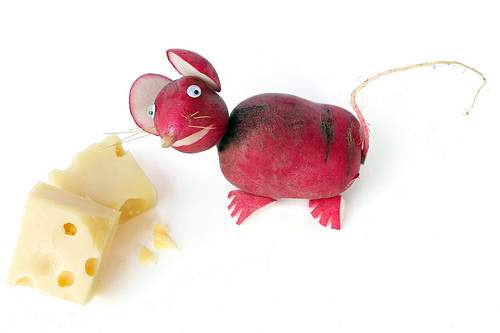
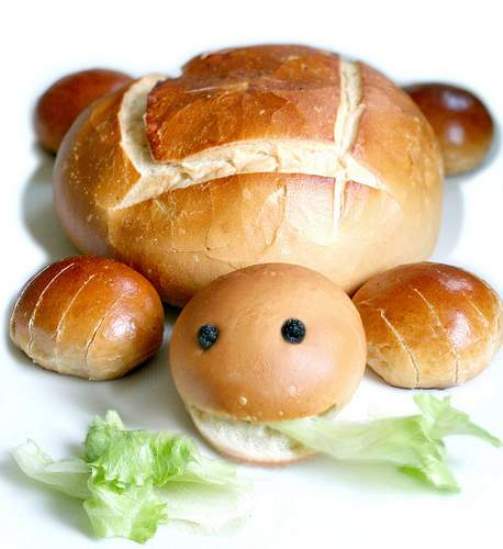
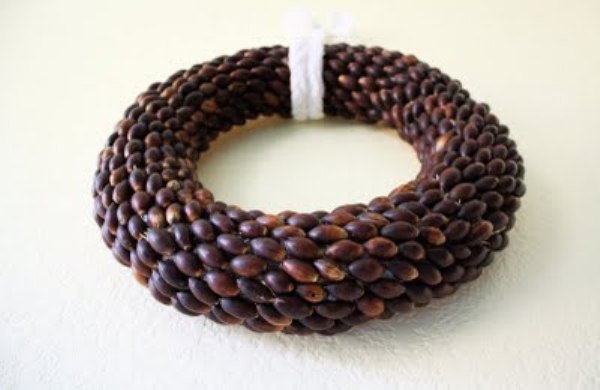
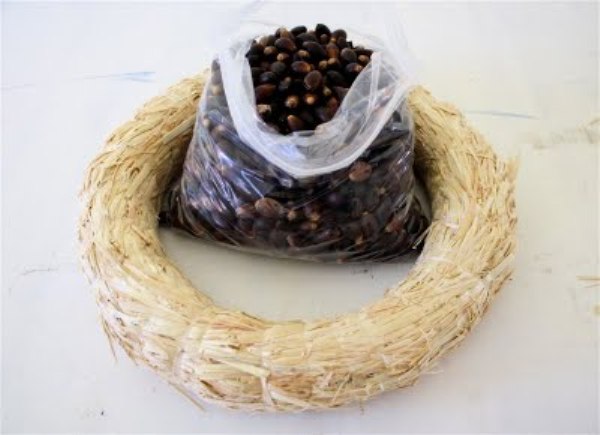
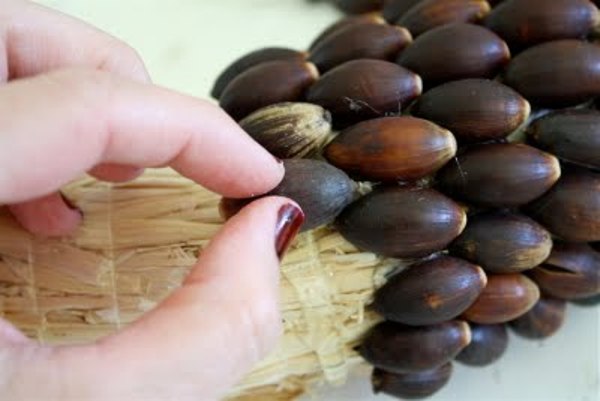
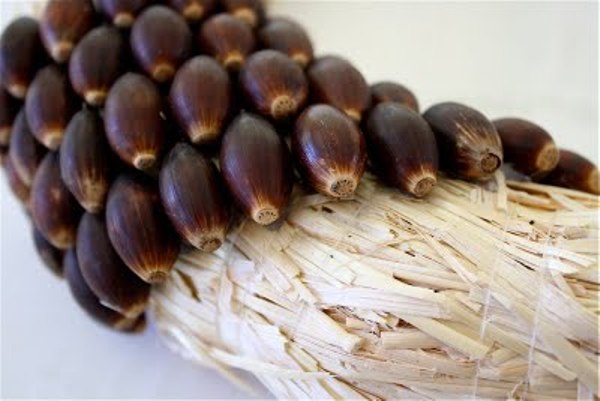
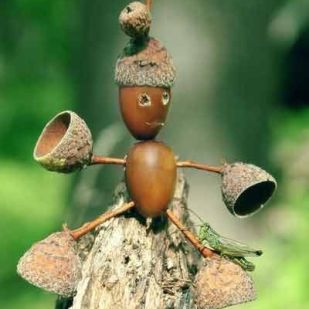
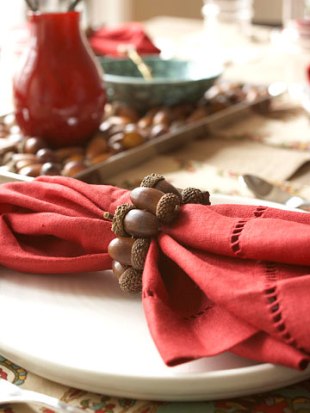
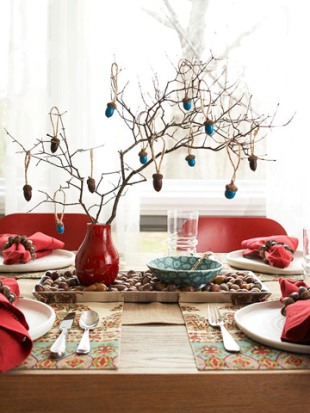
Interesting crafts made from natural material (photo). Acorn crafts
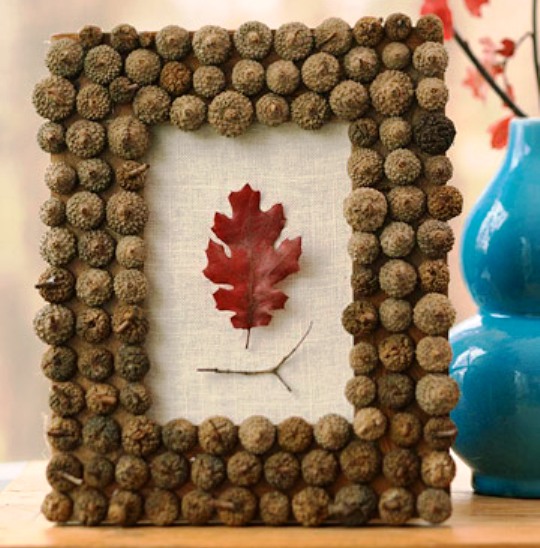
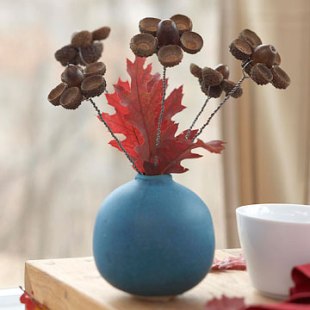
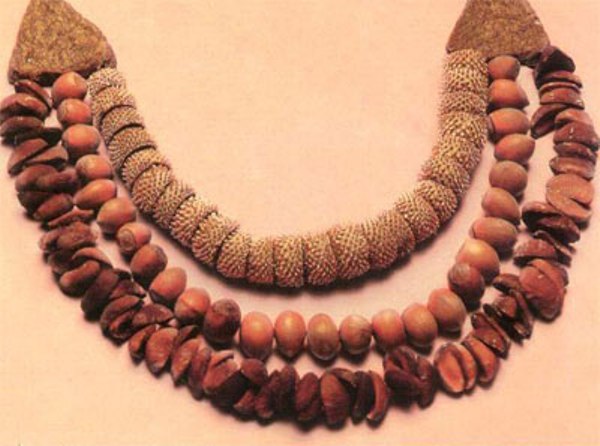
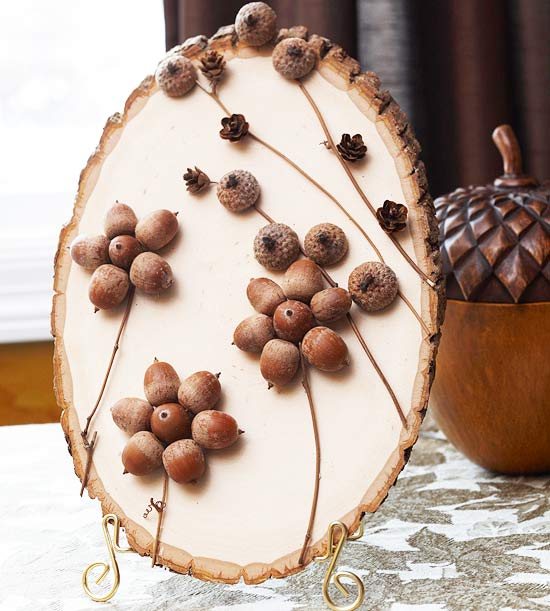
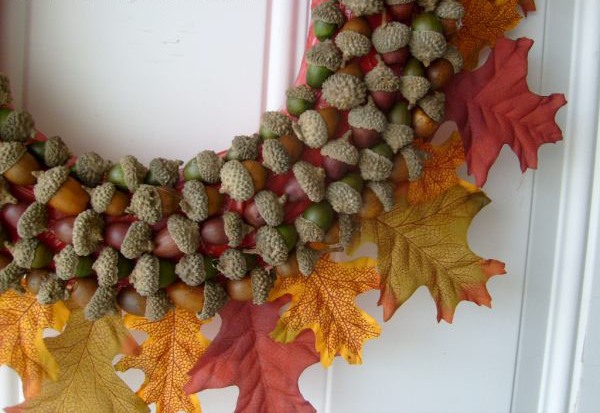
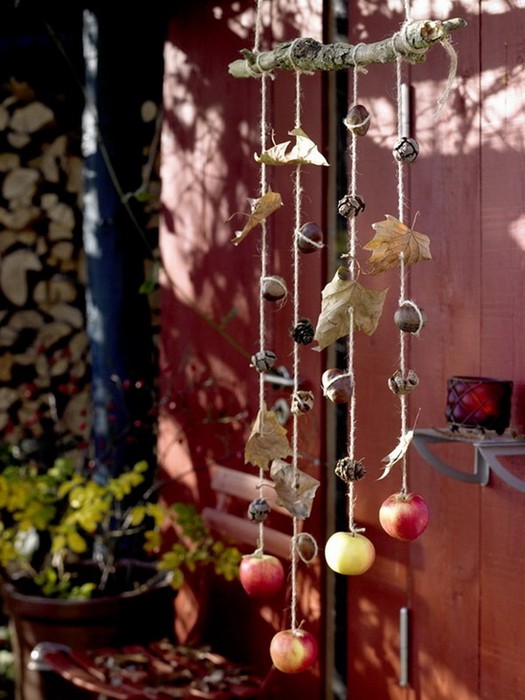
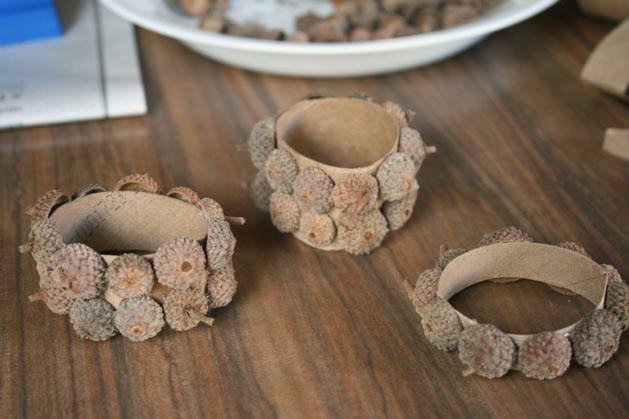
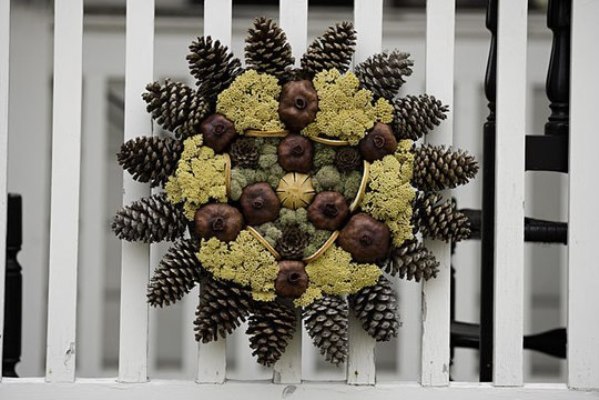
Acorn wreath