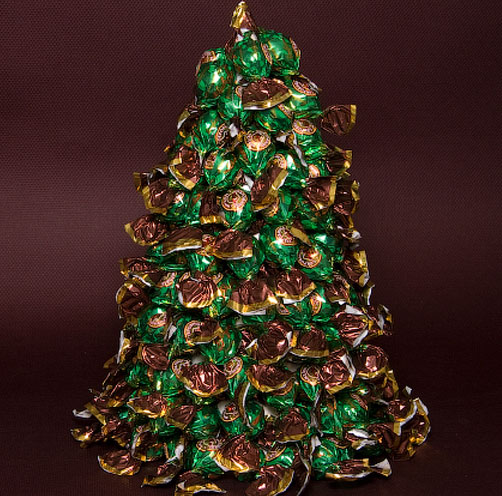
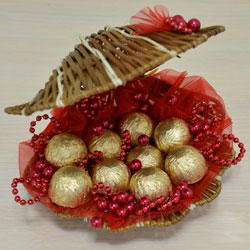
 Useful tips
Content:
DIY candy basket Candy
notebook Candy
tree Candy tree Candy
cake Candy
grapes Candy
wheel
DIY candy gifts (photo)
Not so long ago, we talked about how to make candy bouquets with our own hands. But it turns out that sweets and other materials can be used to make amazing compositions that will be wonderful sweet gifts for your loved ones and will be pleasing to the eye.
Candy compositions are suitable for any festive occasion and will appeal to everyone: women, children, and men. We offer you several workshops on making the most popular candy compositions with your own hands. Once you know the basics, you can get a little creative and come up with your own compositions.
DIY candy basket
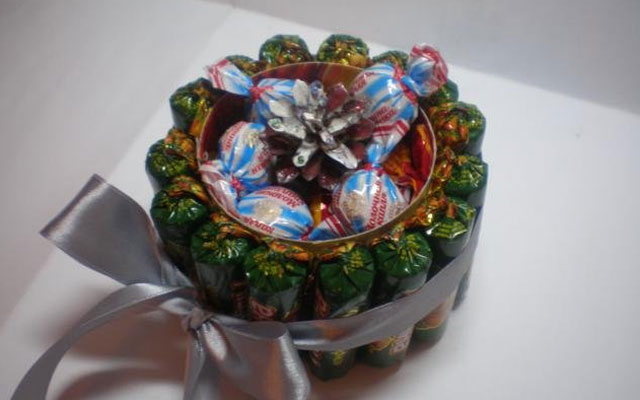
A candy basket is one of the simplest candy compositions that is easy to make with a paper base. To make a neat basket, candies in the form of long sticks are usually used.
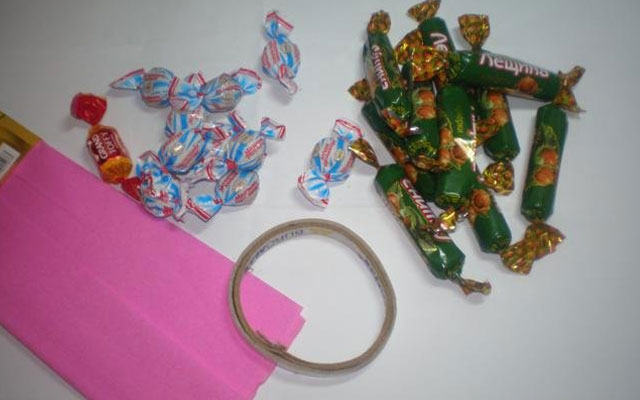
To work, you will need:
– Candy
– Loose colored cardboard
– Paper
– Double-sided tape
– Glue
– Scissors
Let's get to work:
1) For long chocolates, fold the tails by gluing them to the sides with double-sided tape.
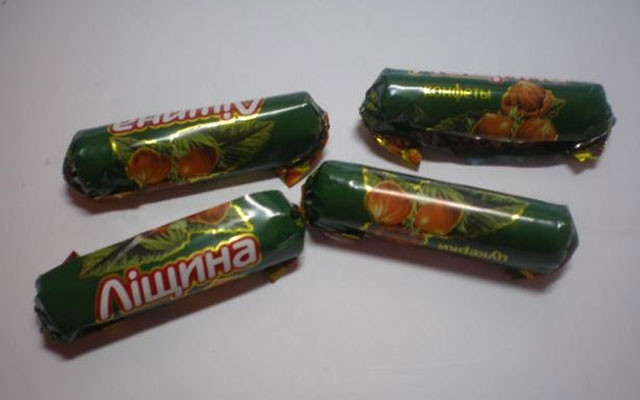
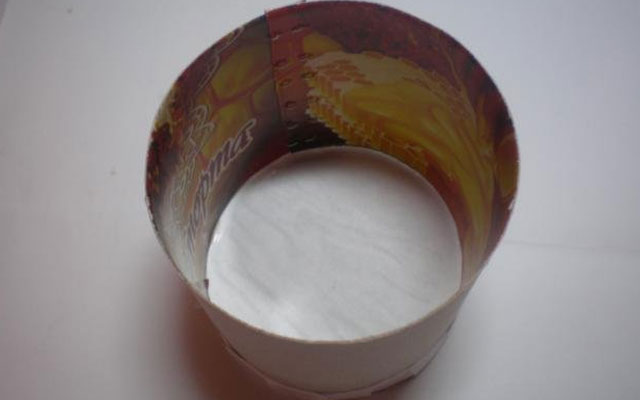
2) For the basket, you will need a cardboard base, which you can make yourself or use a ready-made one. Measure the height of the candy and measure a rectangle on a sheet of cardboard with a width corresponding to the height of the candy and a length depending on the size of your future basket.
Fasten a sheet of paper in the shape of a cylinder and secure the edges with a stapler. For 300 grams of candy, a basket with a diameter of 7-8 centimeters is obtained.
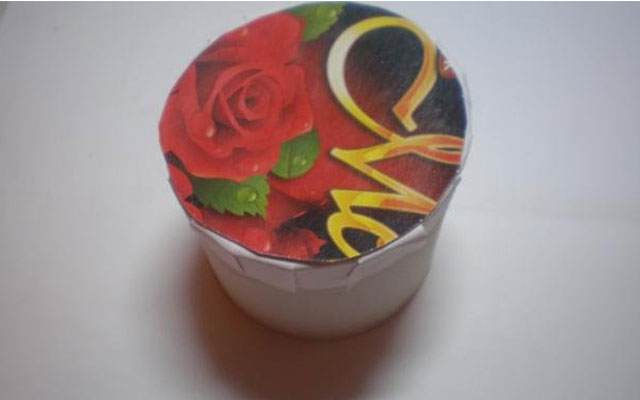
3) A round bottom must be glued to the bottom of the cylinder. To do this, you can use a circle of loose paper by bending the edges and gluing them with glue from the outside. Then glue a cardboard circle that corresponds to the diameter of the lower part of the cylinder onto the loose paper.
4) Stick strips of double-sided tape on the upper and lower parts of the outside of the cylinder.
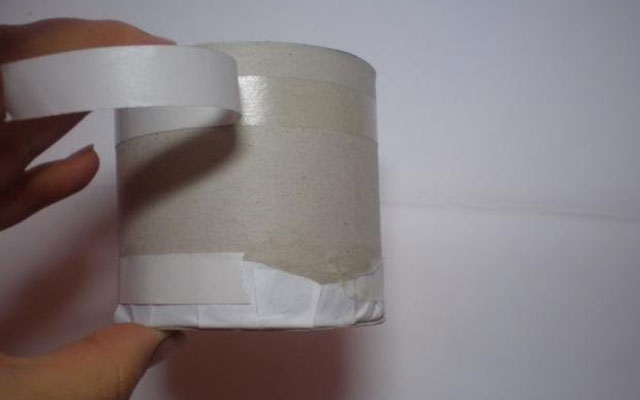
5) Then start attaching candy one by one.
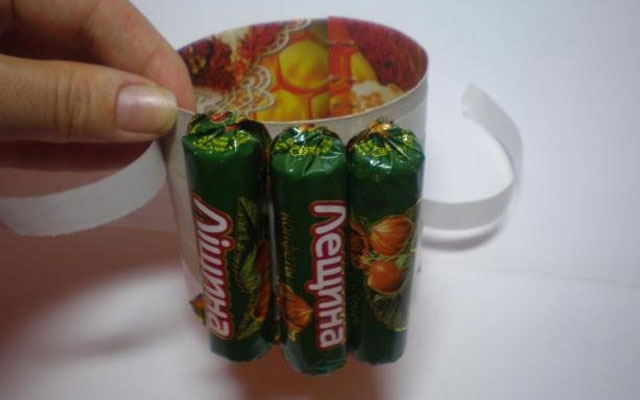
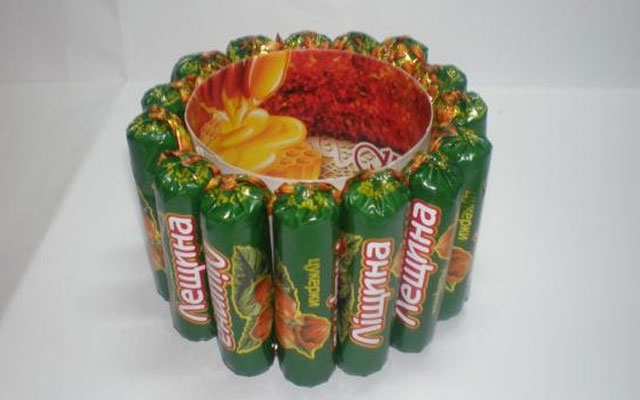
6) You should get this simple basket:
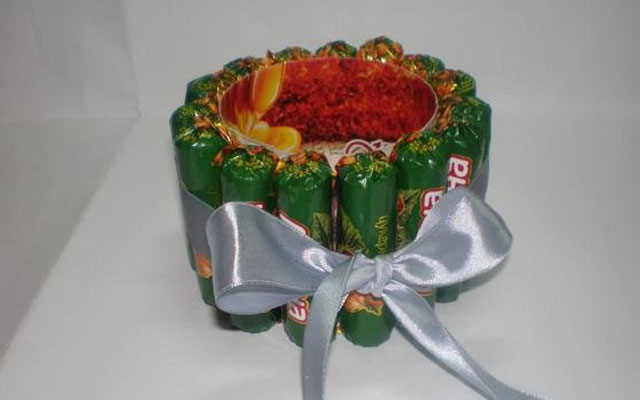
7) As a complement, decorate the basket with a bow, tying a row of chocolates. The basket is ready. Now you can place other candies in it or make several colors out of corrugated paper.
Candy laptop
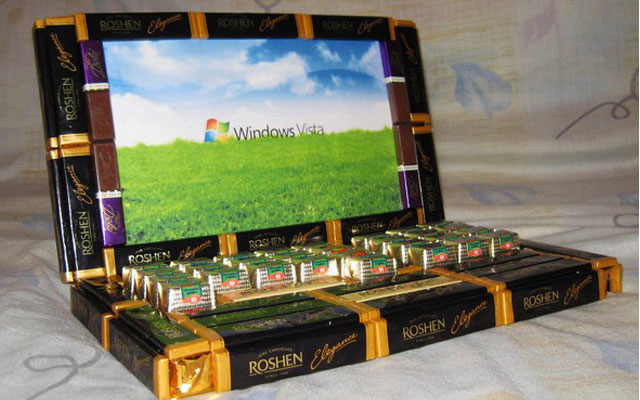
This original candy gift can be used as a basis for many other compositions. A laptop can be easily made from a candy box, which is decorated with candy on the outside. The box should have an opening and closing cover that will serve as a “monitor” for the composition laptop. If you do not have a suitable box, the base of the product can be made from a piece of foam.
To work, you will need:
– Sweets (flat and rectangular)
– Polyfoam (thickness — 2 cm)
– Glitter paper
– A printed page with a Windows screensaver
– Scotch tape
– Glue
– Paper cutter
– Pen
– Thick wire
– Scissors
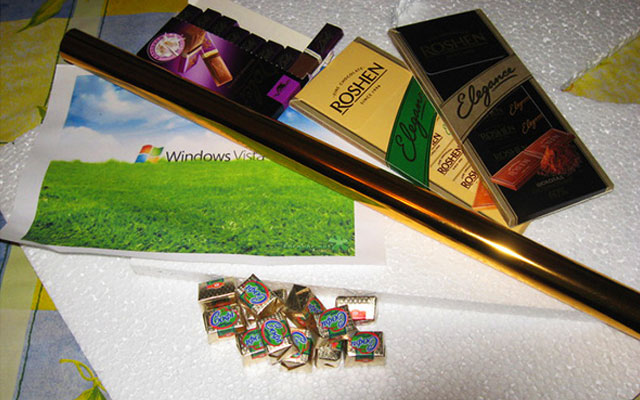
Let's get to work:
1) Lay out flat candies to get the outline of the future laptop and circle the outline with a pen.
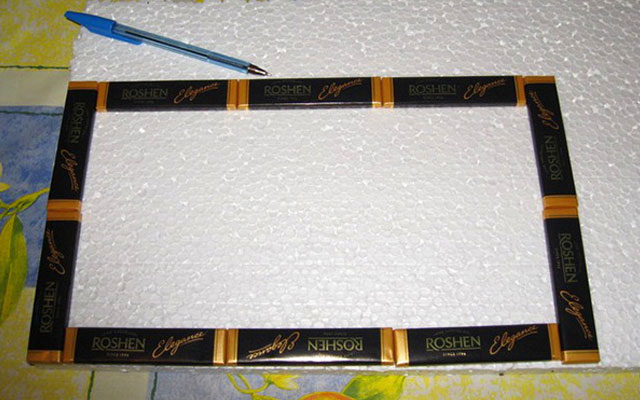
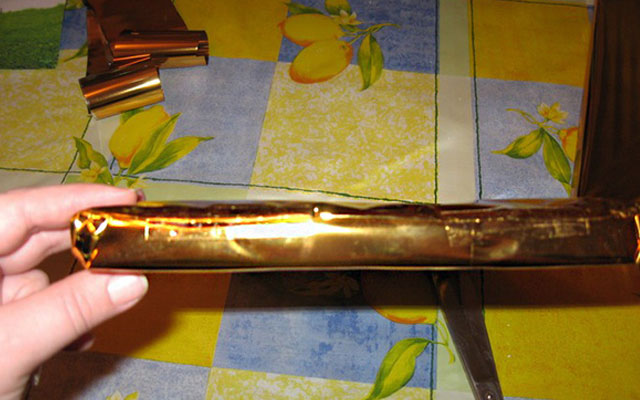
2) Cut two identical rectangles out of the foam along the outline, then wrap each of them in shiny paper or foil. These will be the main parts of the laptop – the monitor and keyboard.
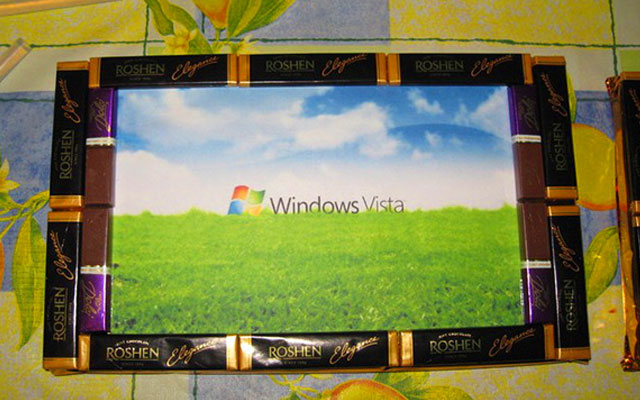
3) Take the first workpiece and glue a printout with a computer screensaver in the center of it.
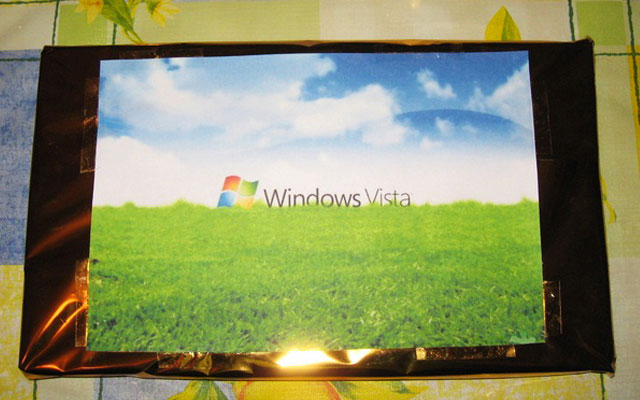
4) Place flat long candies on all sides of the picture.
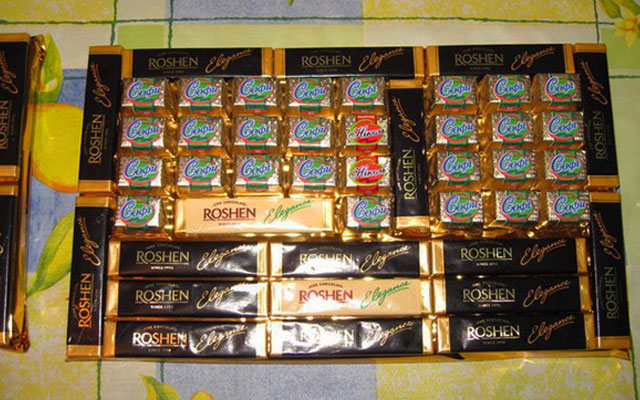
5) Lay out the candies and glue them to the second workpiece, which will be the keyboard. For example, this is how you can use taller rectangular candies to get keys:
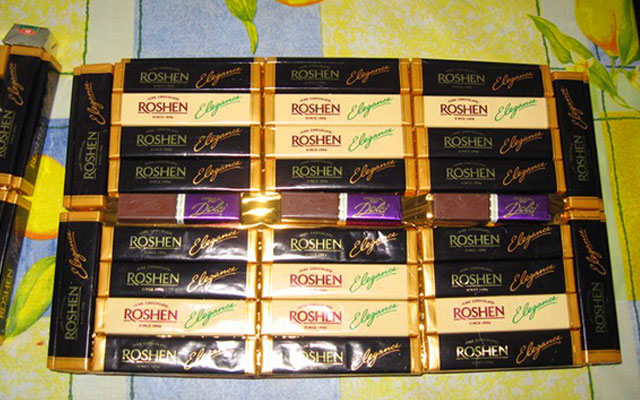
6) Glue the candy to the outside of the laptop.
7) Cover the sides of the blanks with candy, then only on three sides. You will need the fourth side of each of them for fastening. To do this, use a thick wire by sticking it into the end of the monitor.
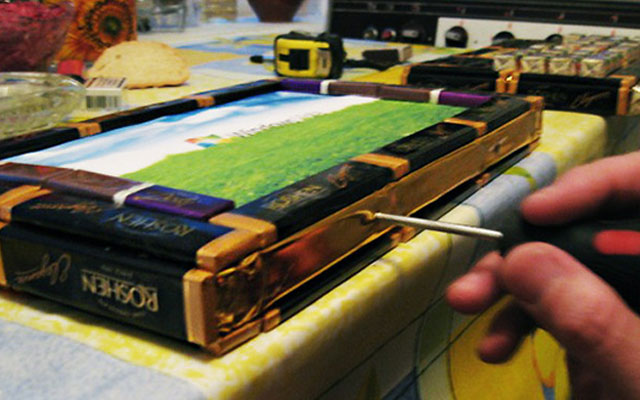
8) Bend the wire at the desired angle and insert the other end into the keyboard blank. To connect it to a monitor.
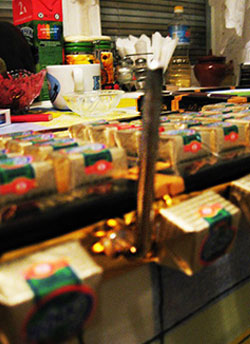
9) You will have an open laptop.
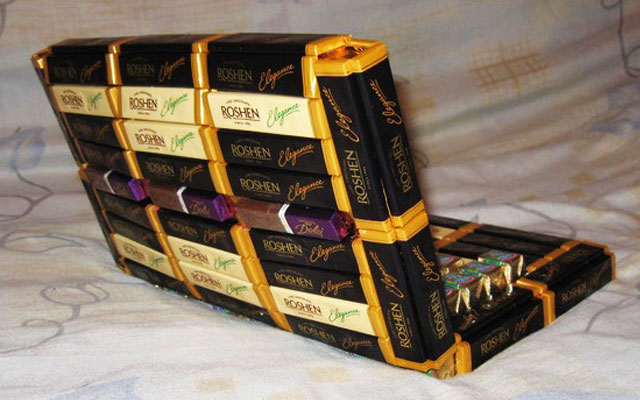
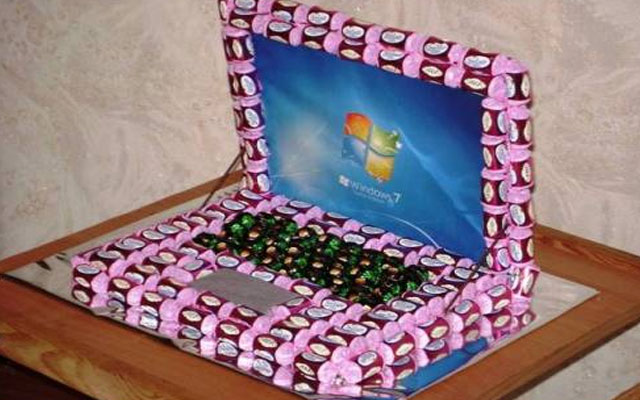
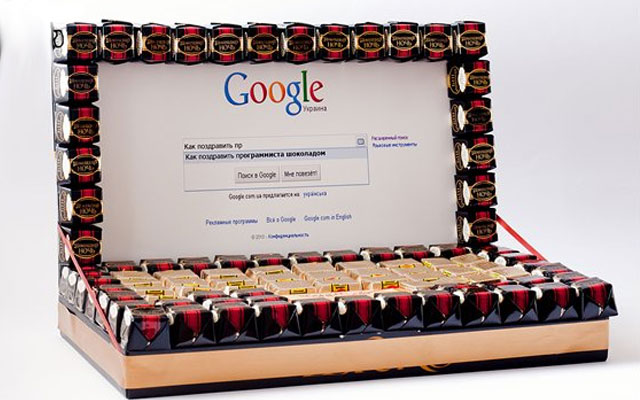
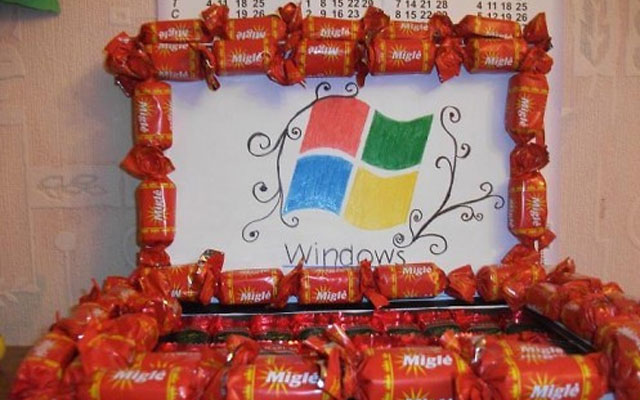
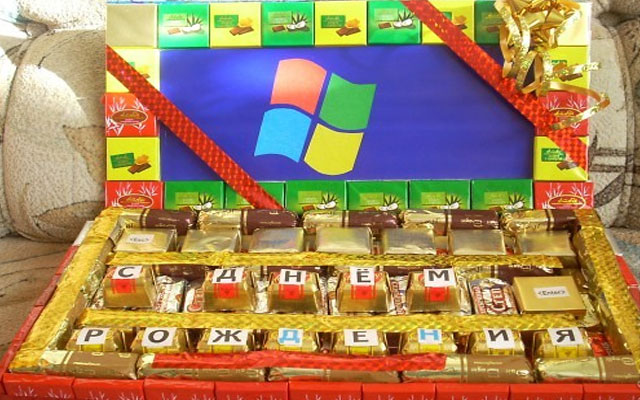
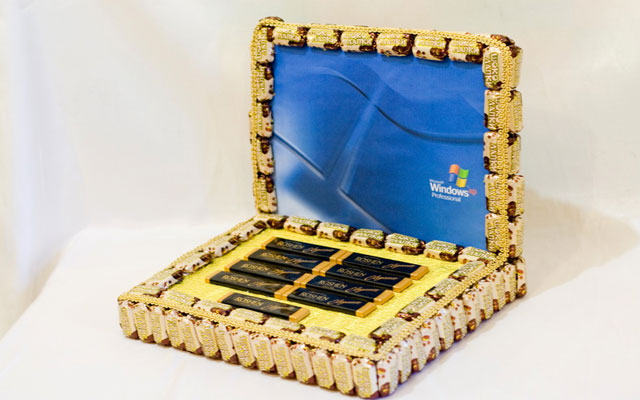
Here are a few more candy laptop options that will be a great gift for beloved men with a sweet tooth:
DIY candy tree
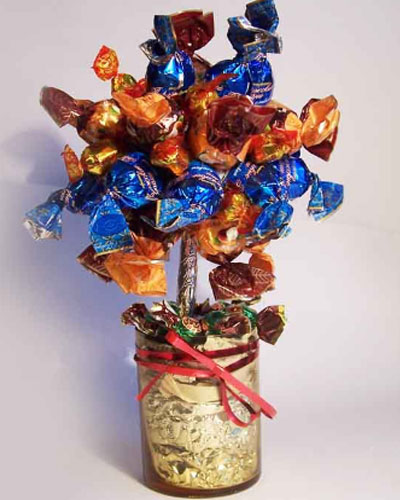
Candy trees are very popular gifts for any special occasion. There are several ways to make them, but the principle is the same: a round base, a leg and a pot.
Option 1:
This version of the candy tree is the simplest. It will take you no more than an hour to make a craft. A wide variety of trees can be made on the basis of this product. It all depends on your imagination.
To work, you will need:
– Sweets of various shapes (about 50 pieces)
– Old newspapers
– Wooden stick for the barrel
– Threads
– Glass or vase
– Glue
– Foil
– Jewelry (ribbons, colored paper)
– Scissors
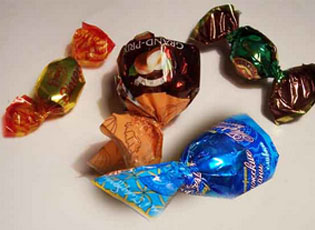

Let's get to work:
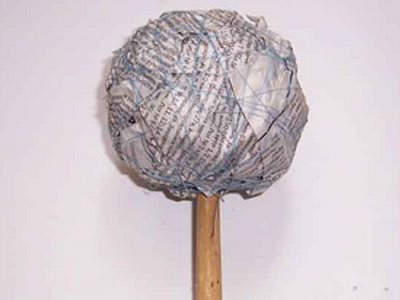
1) Make a small ball of the desired diameter out of newspapers and wrap it with threads so that it does not unfold. From below, stick a wooden stick that will serve as the trunk of your tree.
2) Stick the lower end of the stick into a glass or vase and reinforce it somehow so that the trunk does not tilt. For example, you can fill a vase with the same newspapers or use a piece of foam. The base for your tree is ready.

3) Make sure that the trunk is firmly in the vase and does not fall when you decorate your tree with candy and other details. Start by attaching candy. They can be glued with a glue gun. It is better to use flat-bottomed candies, then it will be easy for you to unfold them right on the tree and eat them later.
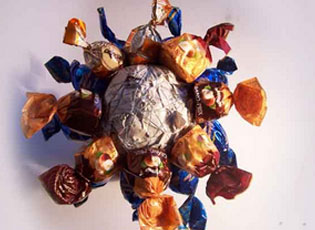
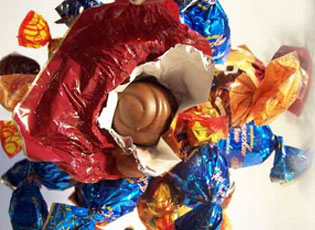
As a basis for trees, you can use other, more professional materials, such as a foam ball and a plastic stick, which can be found in specialized product stores for handicrafts:
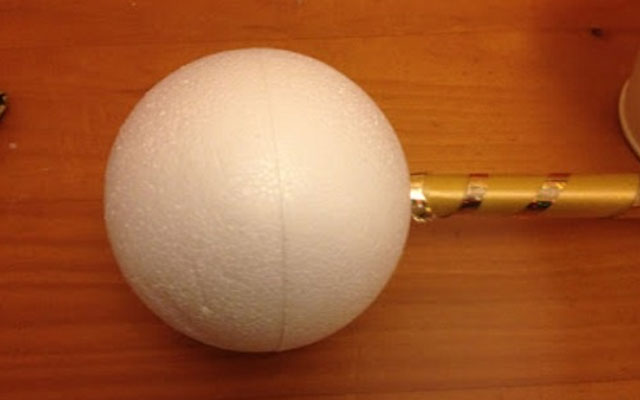
Liquid gypsum can be used as a base, which, when hardened, will hold the barrel tightly.
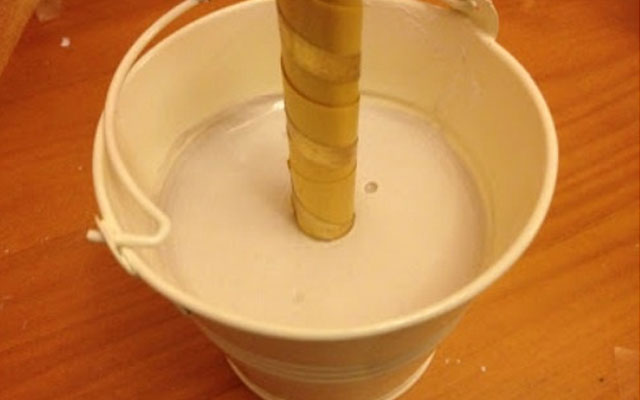
Working with gypsum will take a little longer, although such a tree will eventually be more stable and reliable.
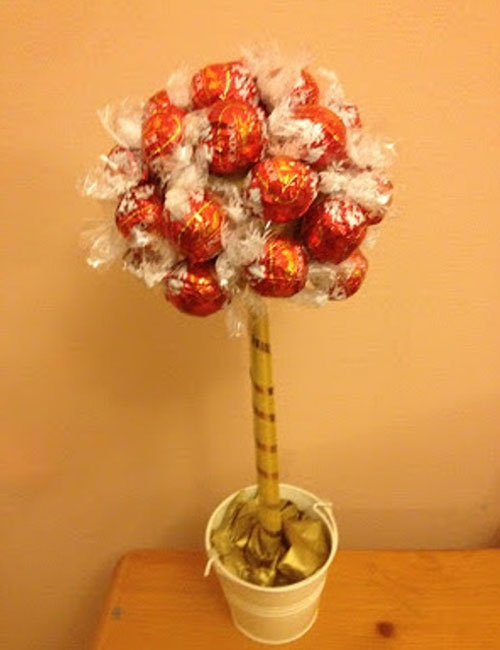
Option 2:
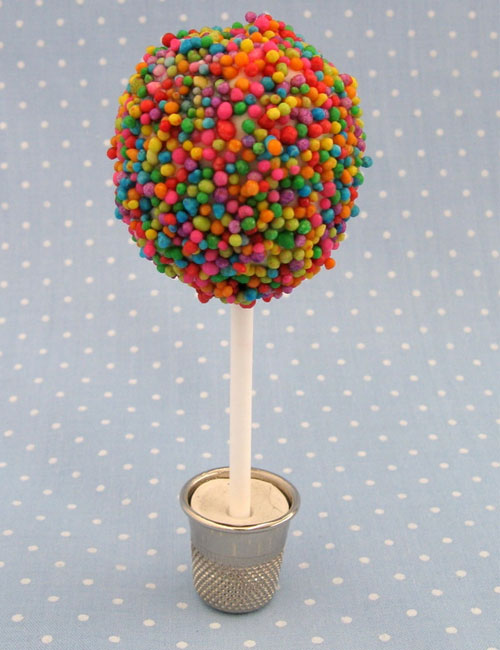
Original trees can be made from Chupa Chups or other candies on sticks. Moreover, these will not be simple candy trees: each such mini-tree will be one candy.
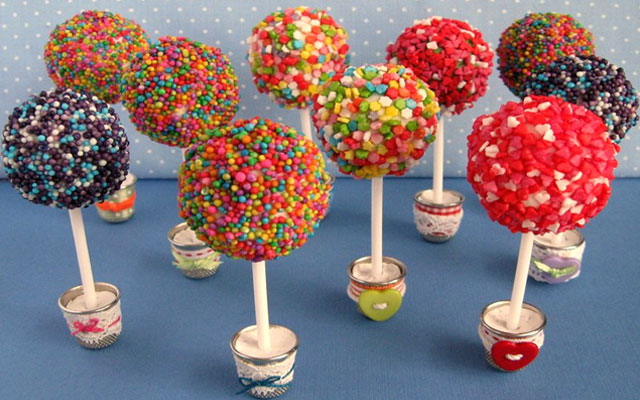
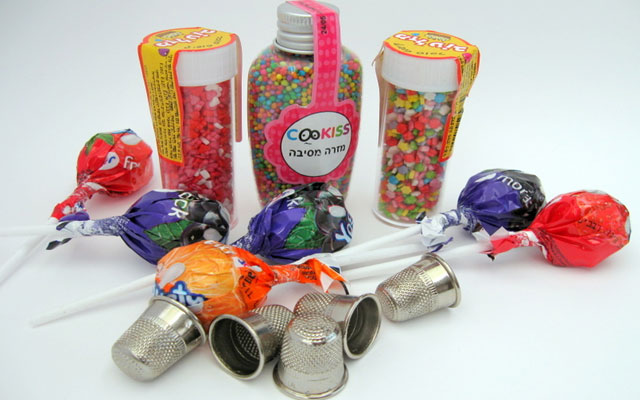
To work, you will need:
– Candy sticks
– Mastic (edible plasticine)
– Sprinkles for cakes of different colors
– Thimbles
– Pot decorations
– Gypsum or hardening plastic
– Water
Let's get to work:
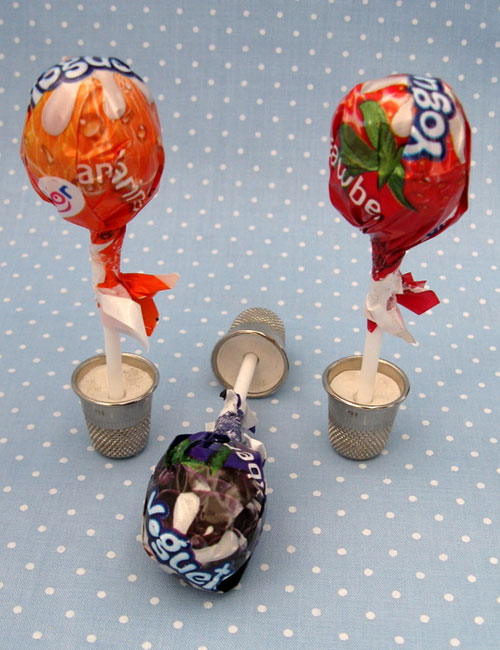
1) Insert the candy on a stick into the thimble and secure it with gypsum or any other material that works (e.g. clay or salted dough). Let the base harden.
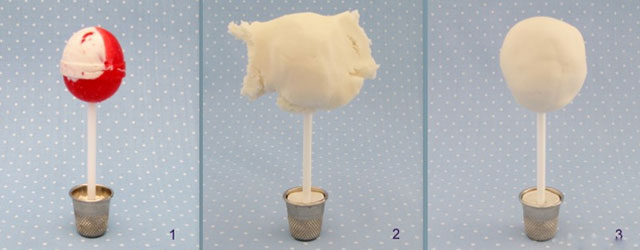
2) After unwrapping the candy, wrap it with mastic and form a ball of the correct shape.
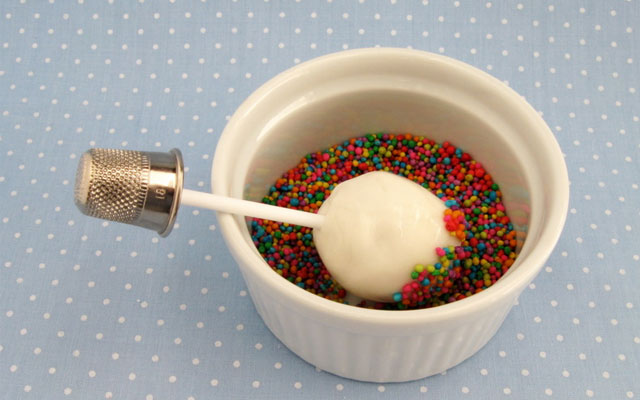
3) After wetting it with water, dip the candy into a container with sprinkles and roll it so that the small particles stick to the tree.
4) Decorate the thimble with ribbons or wrap it with foil. Your candy tree is ready.
Similarly, you can make a large tree out of round chewing gums.
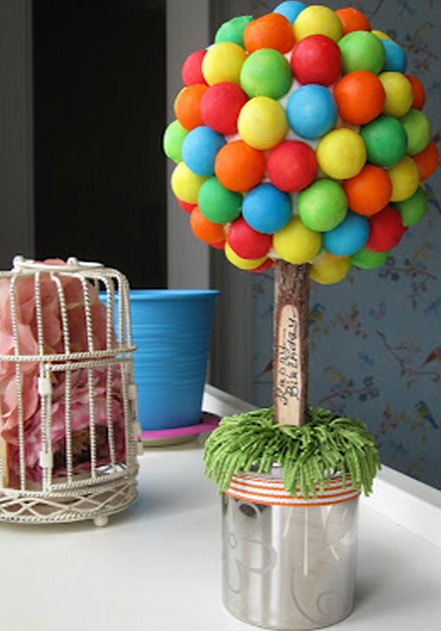
Candy tree (workshops):
DIY candy cake
A candy cake is an original gift for a birthday or other holiday, as well as a beautiful craft that is easy to make. The composition is decorated with candy flowers that can be made from corrugated paper. You can read more about candy colors here.
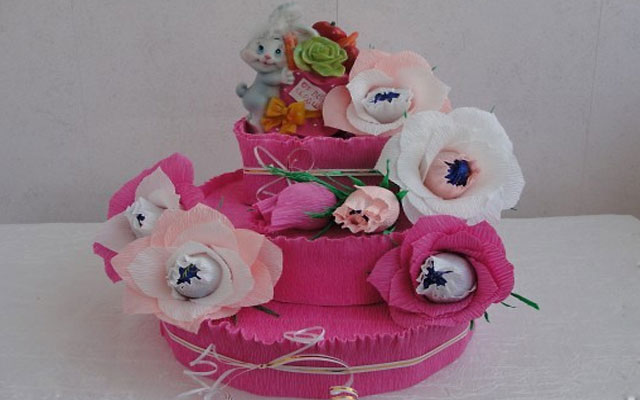
To work, you will need:
– Candy
– Corrugated paper
– Styrofoam
– Ribbons for decoration
– Glue
– Cardboard box
– Scissors
Let's get to work:
1) Cut cake blanks out of thick foam sheets: one larger, one smaller. The size of the “cakes” will depend on you. Cover the workpieces with corrugated paper, leaving beautiful edges on top.
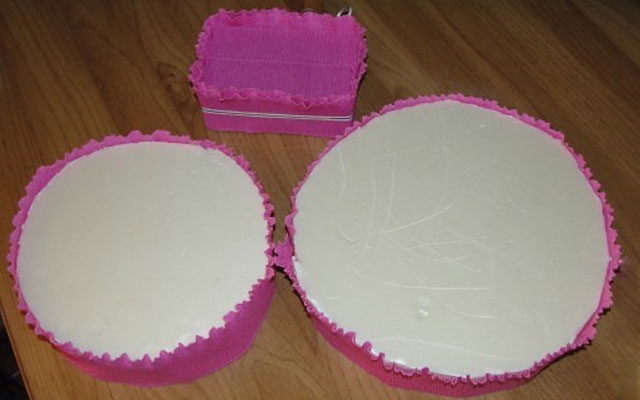
2) Also cover the cardboard box with colored paper, which you will place on the uppermost level and in which you can put small gifts and toys.
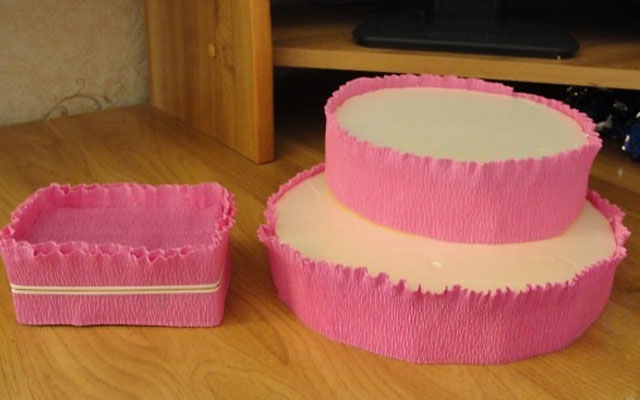
3) Cover the upper part of the foam blanks with the same paper and place all levels one on top of the other, securing them well.
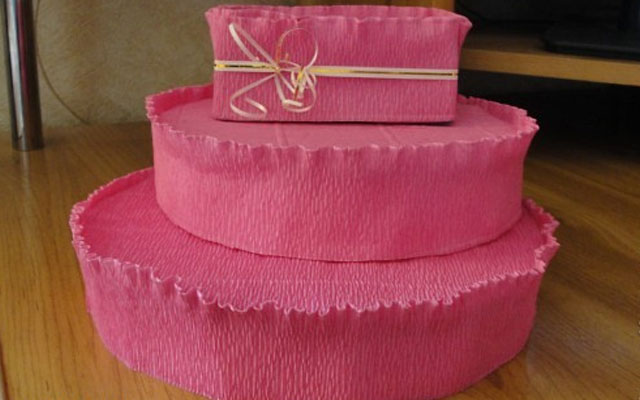
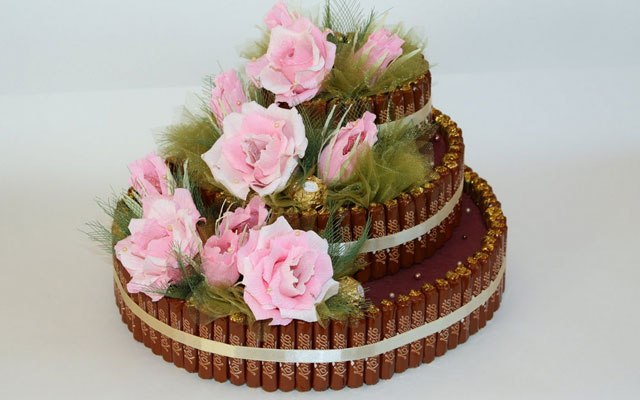
This is the basis for your future cake. Now you can decorate it with candy. For example, you can place candy flowers and bouquets on top of it, or cover the sides with candy by planting sweets on glue or double-sided tape.
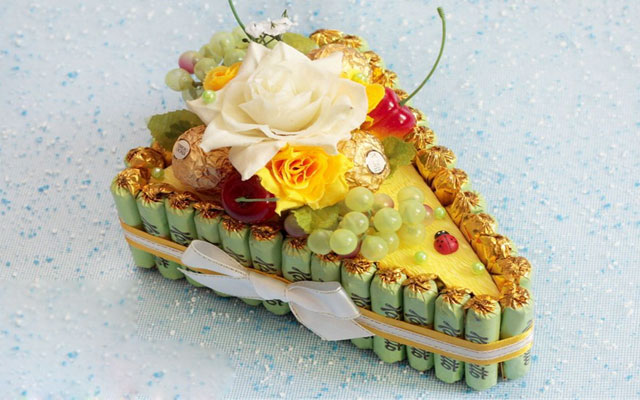
This composition can be made from the same foam base by cutting it in the shape of a triangle. You will get a piece of candy cake.
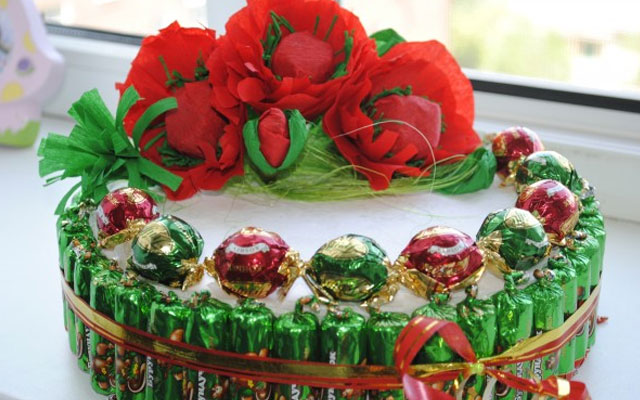
A one-story candy cake made of long and round candies and paper flowers:
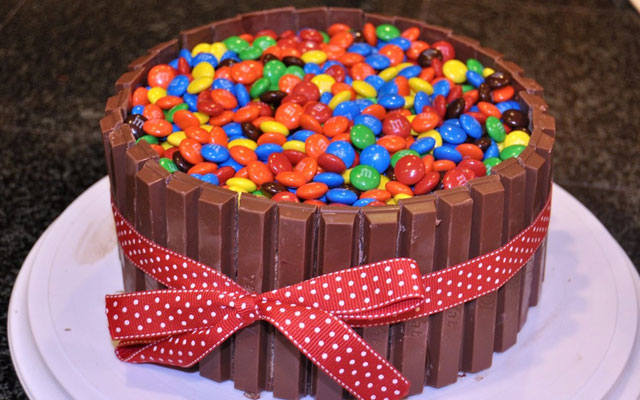
This original cake is made from broken Kitkat chocolate bars and decorated on top of M&M's jelly beans. A good idea for a children's party or birthday party. The chocolate bars were probably used without a base, but were held together with the help of a ribbon.
Candy grapes master class
A bunch of grapes made from candy is an excellent and very original gift for those with a sweet tooth. It can be used as a separate gift, or decorate it with a composition: a cake, a bouquet, and so on.
Option 1:
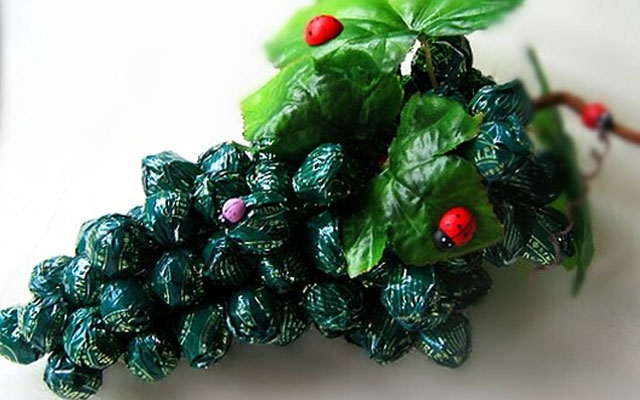
To work, you will need:
– Round wrapped candies
– Flower wire
– Scotch tape
– Decoration details — leaves, ribbons, ladybugs, etc.
– Scissors
Let's get to work:
1) Make preparations for the bunch. To do this, attach a wire to each candy using tape.
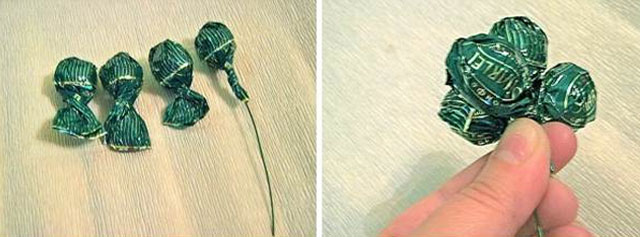
2) Then put a few candies (5-6 pieces) together and secure with tape or tape. For example, you can use colored tape to match the color of the wrapper, then the fasteners will not be visible.
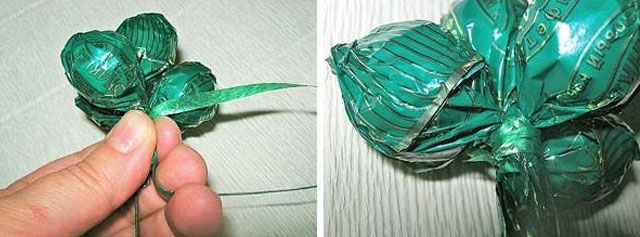
3) Make several small clusters that you will then attach to a thicker wire.
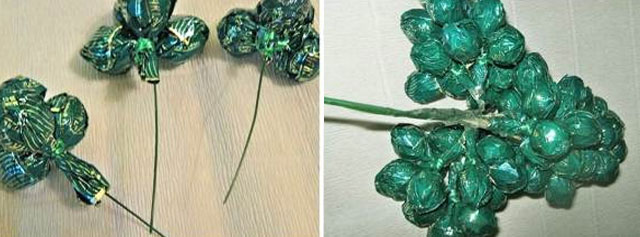
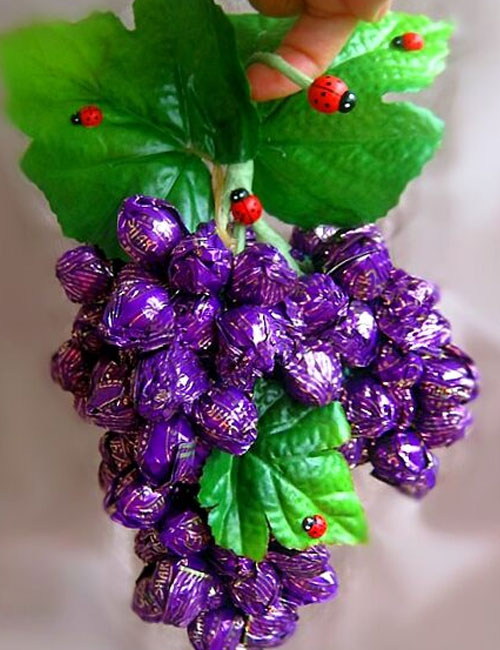
4) When the whole bunch is ready, decorate it with leaves, ribbons and other ornaments.
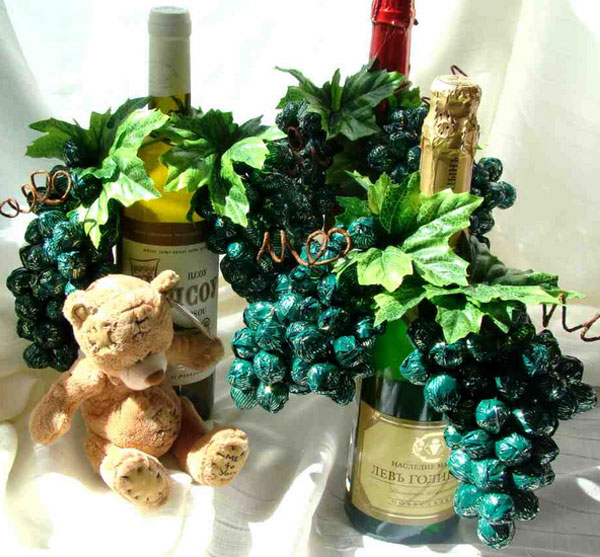
With the help of these bunches, you can decorate a gift bottle of wine:
Option 2:
Another option for making grapes from candy requires the use of toothpicks and a piece of foam. Such a bunch is also not so difficult to make.
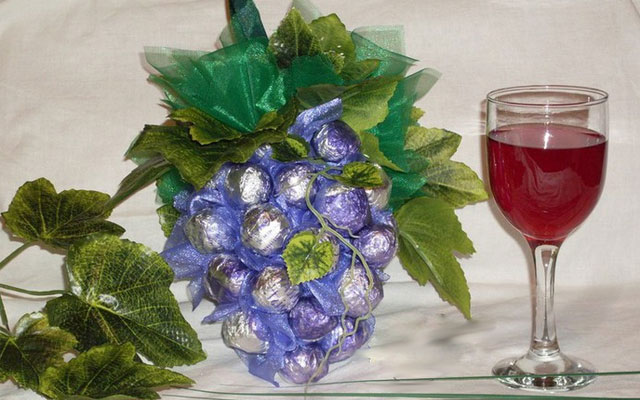
To work, you will need:
– Round flat-bottomed candies in a wrapper
– Toothpicks
– Wrapping paper
– Styrofoam
– Floral organza
– Glue gun
– Green tape
– Decoration details — leaves, ribbons, etc.
– Scissors
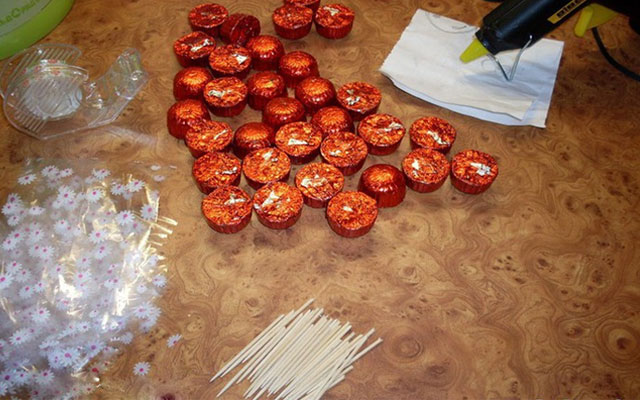
Let's get to work:
1) Wrap each candy in wrapping paper and attach a toothpick to it.
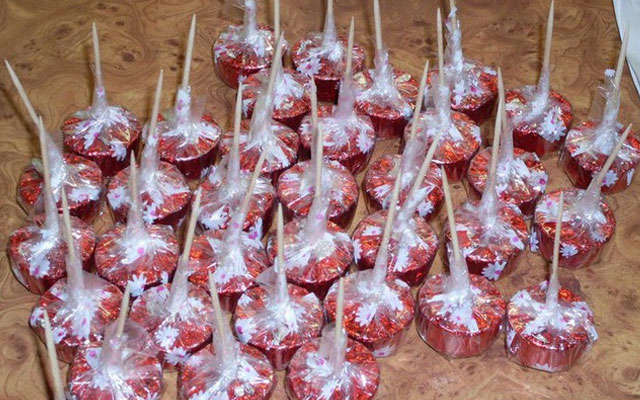
2) Wrap the toothpick at the base of the candy with green tape.
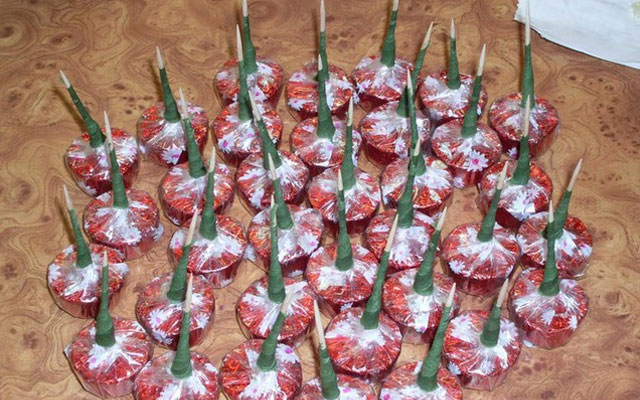
3) Cut out the foam base for the bunch and start sticking candy into it one at a time.
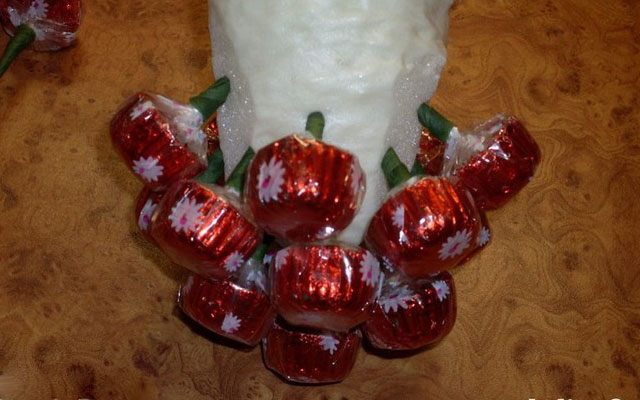
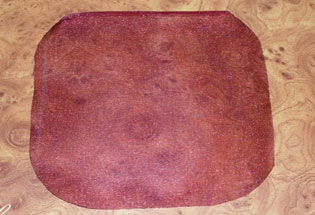
4) Cut a square with rounded corners from a piece of organza and attach it to a toothpick with colored tape. Make a lot of such preparations
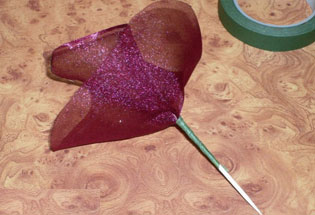
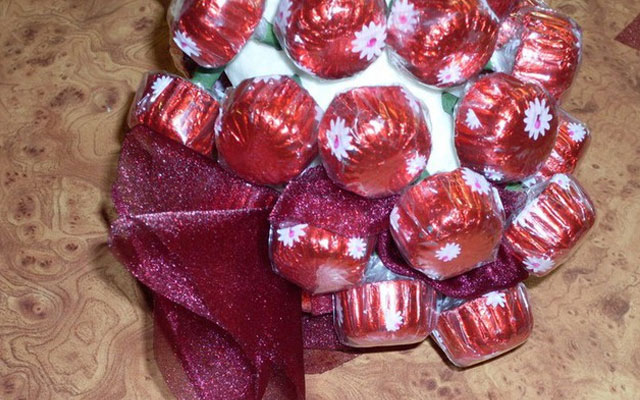
5) Stick organza toothpicks between the candies to hide the foam base.
6) Wrap two long wooden skewers with green tape along the entire length.
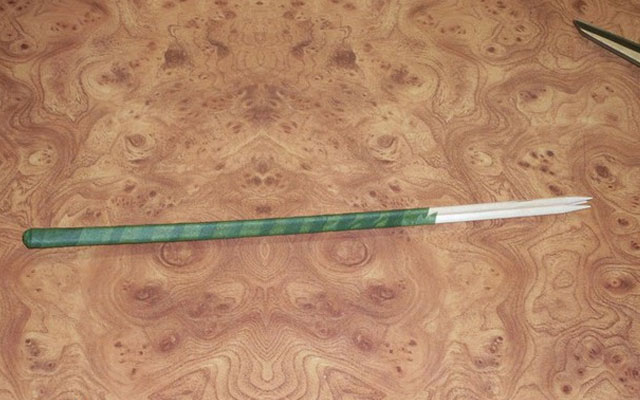
7) Stick the skewers into the base of the cluster and secure them with glue to prevent them from falling out.
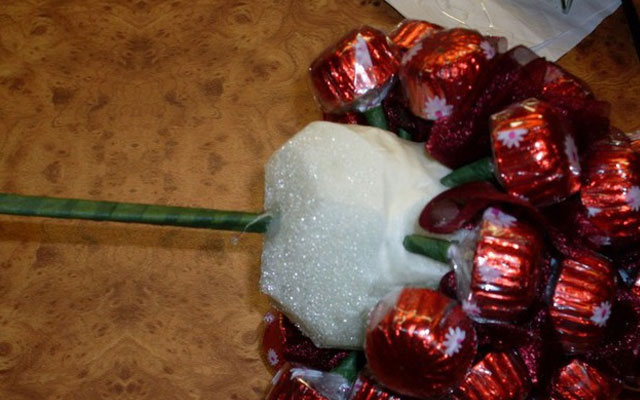
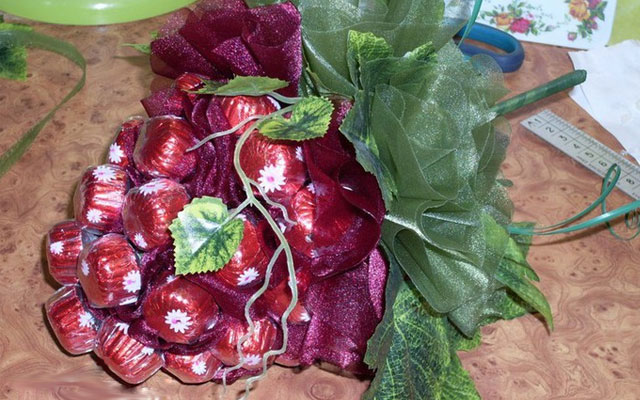
8) Decorate the cluster with artificial leaves and green organza
Candy gift for men: candy wheel
The steering wheel is an original gift for a male driver who also has a sweet tooth. It is very easy to make it with a sheet of foam or cardboard.
To work, you will need:
– Flat-bottomed candies
– Glue or double tape
– Cardboard
– Pencil
– Dark cardboard paint
– Scissors
Let's get to work:
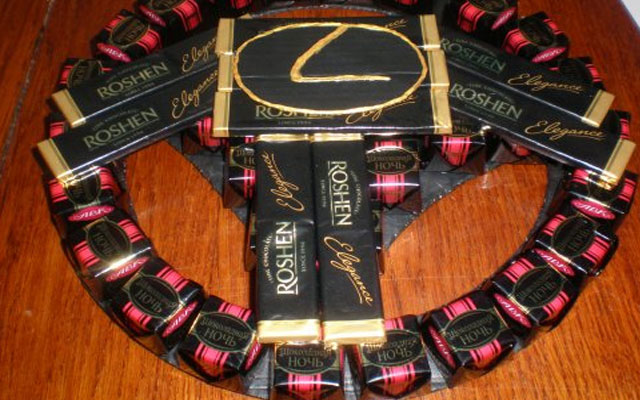
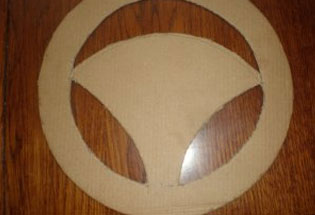
1) Cut the workpiece out of cardboard as the base for the future steering wheel, drawing contours in advance with a pencil. To make the steering wheel smooth, use templates in the form of plates or other round tools. You can use a compass.
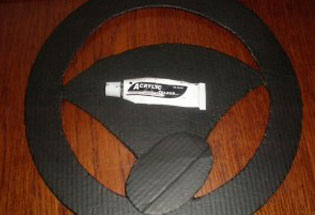
2) Paint the steering wheel with dark paint.
3) Cover the steering wheel with candy.
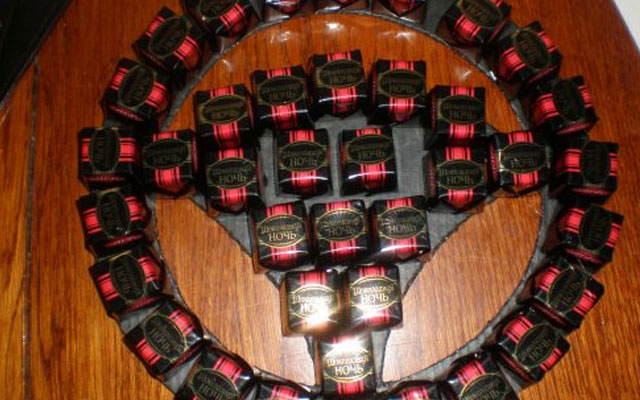
4) On top, you can decorate it with the logo of your favorite car brand.
Candy wheel master class:
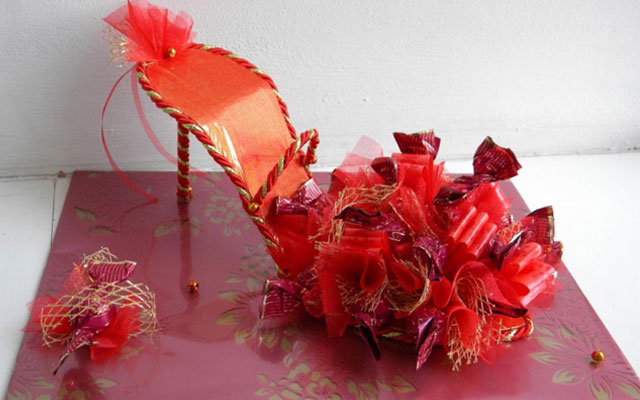
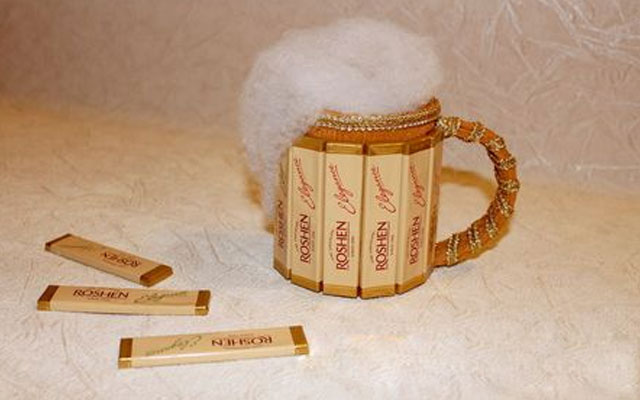
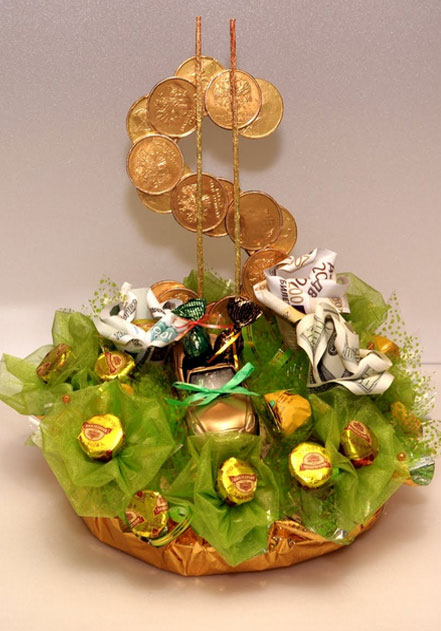
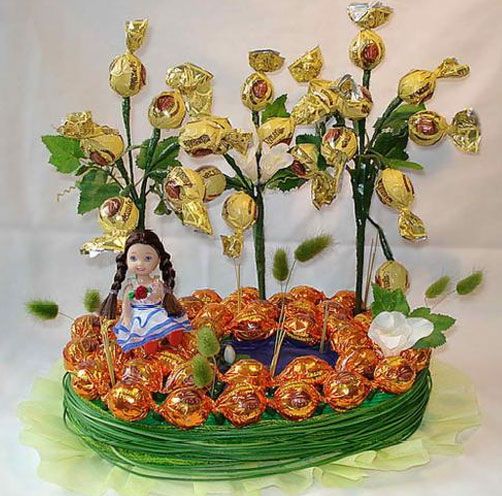
Knowing the basics of candy compositions, you can come up with your own gifts for family and friends. Here are a few examples of original candy compositions:
DIY candy gifts (photo):